Tuesday, March 27, 2012

I made a cover for my new binder!!!!

It's good, but I know I can do better.  lol  I bought some more fabric this week and whenever I get time, I'll start on another one.

 In the mean time, here are the pictures:  (I have reusable shopping bags made out of this fabric.)
Front - the flap for the magnetic closure is kinda off center.  I think the next one I"ll use velcro.  And a little piece of elastic to keep a pen.
Photobucket

Inside front cover:  Two places for business cards and a place to slip paper.  Next one I may make room for some more business cards - I need to order some for Todd's trucking business.
Photobucket

Inside back cover:  another place to slip paper, and also a little pocket to keep post it notes.
Photobucket

And the back:
Photobucket

Friday, March 23, 2012

More Organizational Tools!!!!

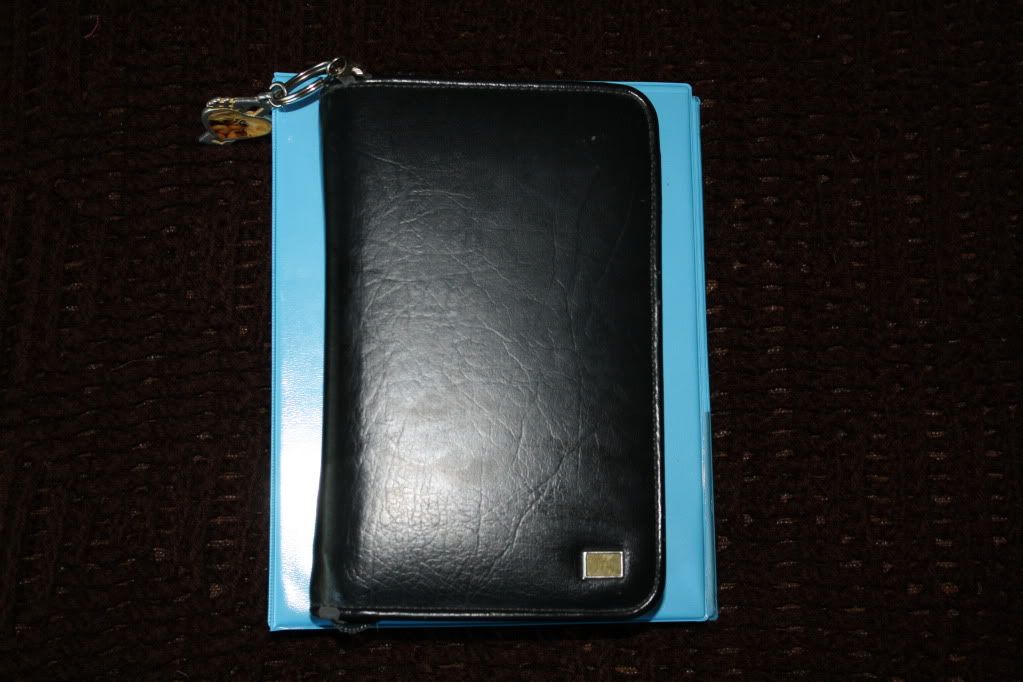
I used to be a big fan of the "Daytimer" products, but since I made my purse and wallet, I haven't been using my old Daytimer planner.
Photobucket

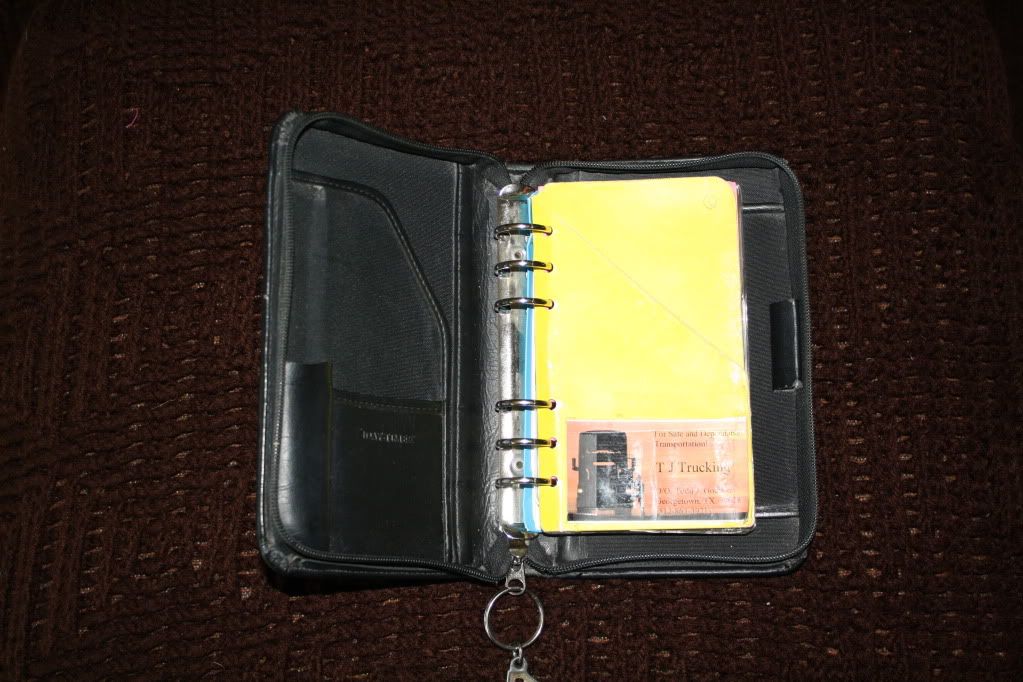
Plus, it's a little small.  These pages that hold credit cards are about 4" by 7"
Photobucket

So.....I went to Office Depot after work the other day to see if I could find something else.  They had the perfect size of binder, about 7" by 9".  The only problem was the rings were 2" and that was too wide.  I decided to look online and found the same size binder with 1" rings - PERFECT!  I looked everywhere to see if I could find loose-leaf paper to go in it and couldn't find any.  I'm sure someone probably makes it, but I was tired and just decided to order a Heavy Duty Hold Punch.  The punches are adjustable and you can have up to 7 holes!  Ordered them and they arrived yesterday so I sat down after work last night and put my new organizer together.  And here it is!!!!
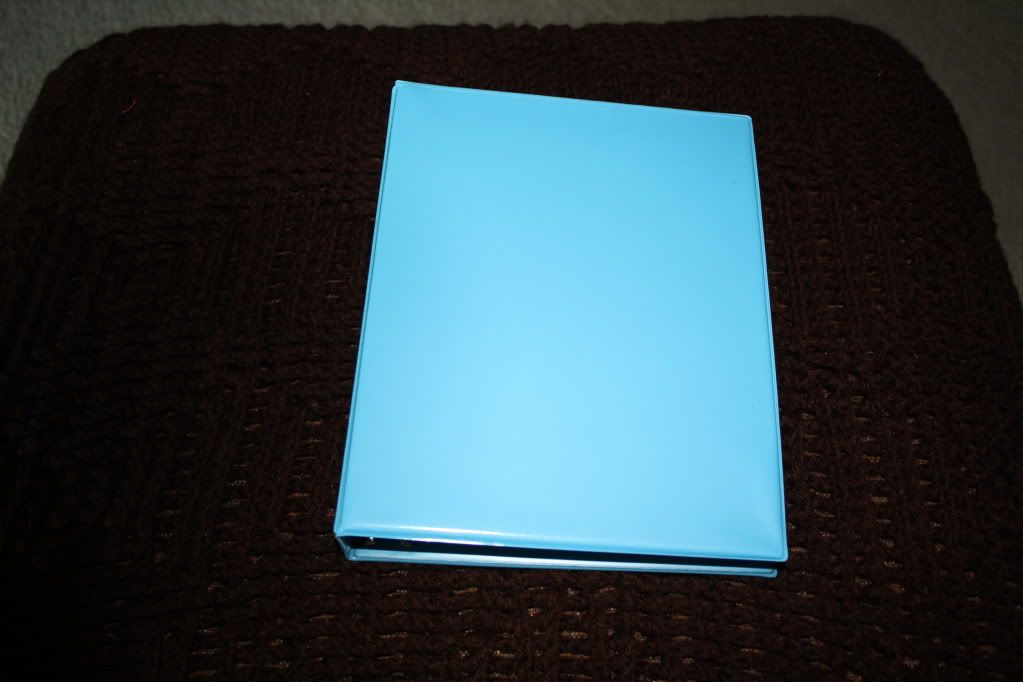
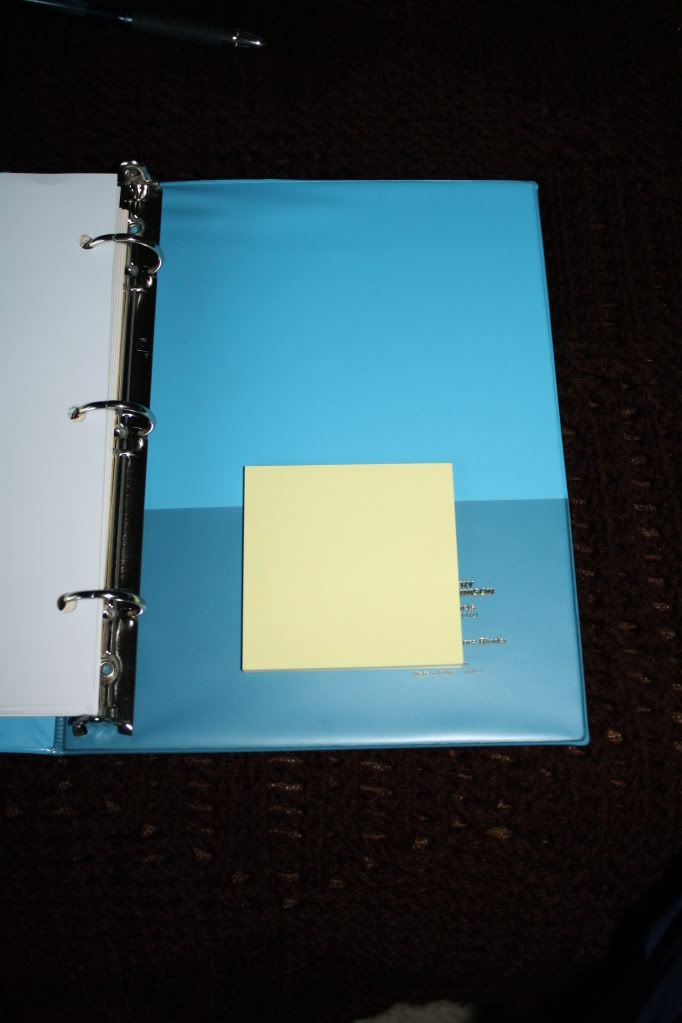
Front - I wasn't worried about the color because when I make my new purse, I'll also make a cover for the binder so it closes and has a place to hang a pen.
Photobucket

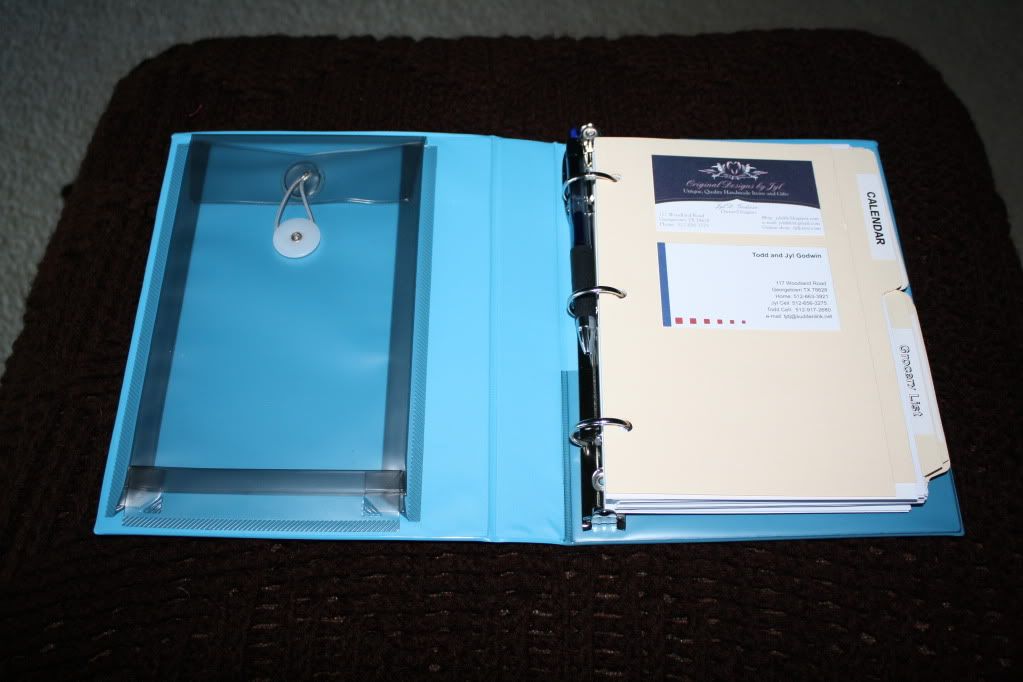
Inside - I goofed and ordered a binder with a pocket on the inside.  I need to decided if I want to just cover up the pocket (because it would be a good place to hide something), or if I want to order another one that doesn't have a pocket.  For now, I'll just use this one.
Photobucket

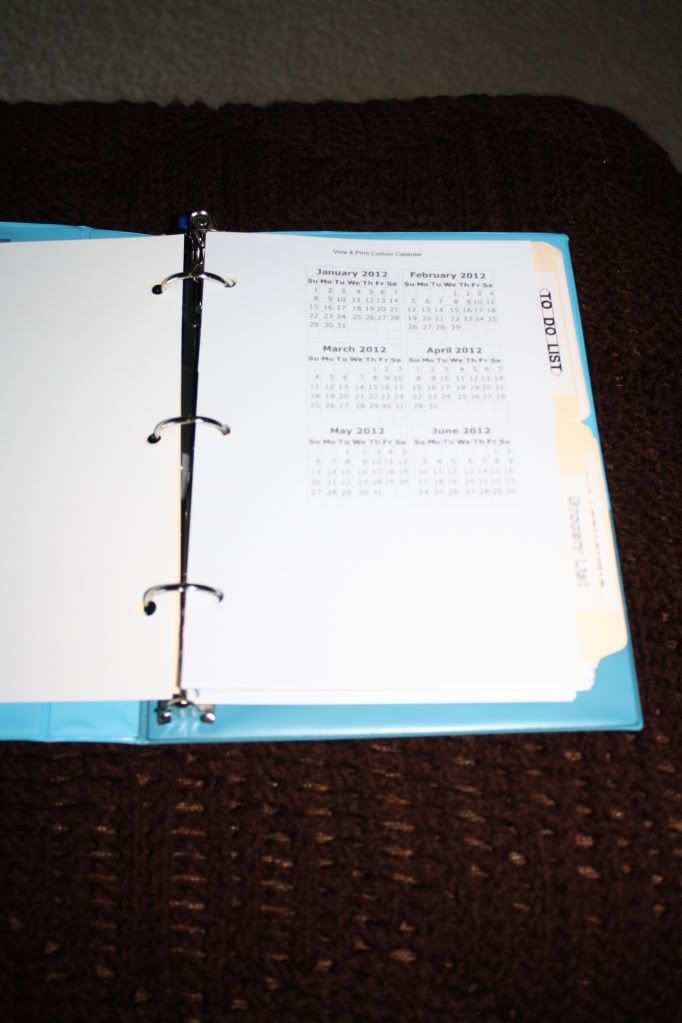
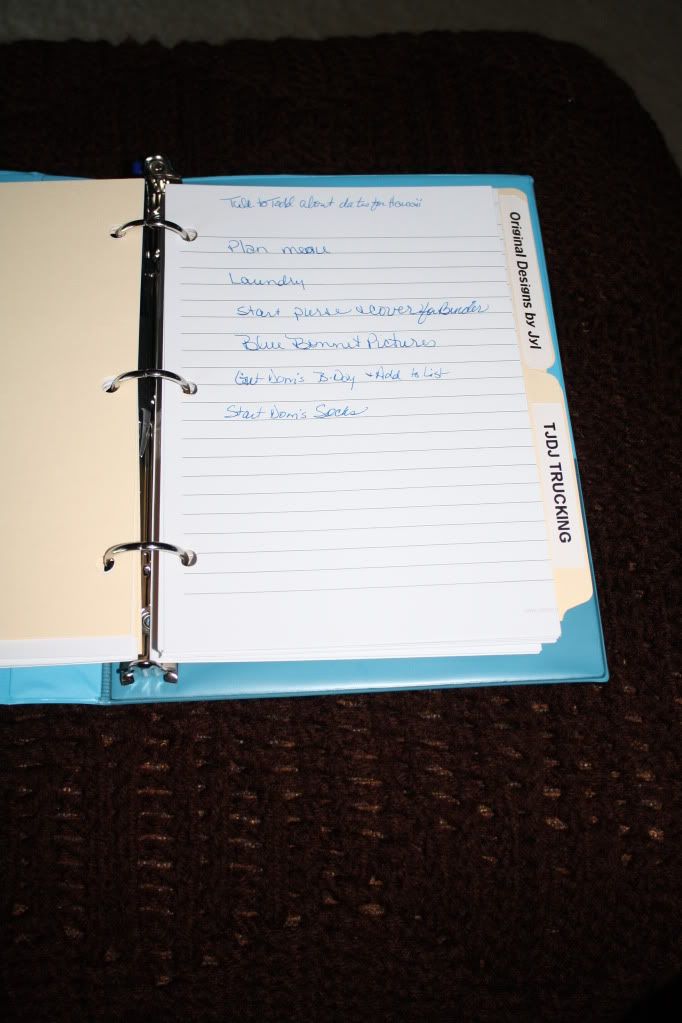
I ended up having to cut a regular size piece of paper, but I got two small pieces out of one regular size.  Each piece of paper is approximately 5 1/2" by 8".  It doesn't sound like a lot, but it really gives me more room to write things.  I also found somewhere online a place to print off lined paper landscape, so used that then cut the paper (I did also have to cut about 1/2" off the long side of the paper before I cut it in half ) and put holes in it.  I decided to print off a calendar to put in, and I also made dividers.  Labeled them with my new DYMO label maker - LOVE IT!!!!!!
Photobucket

Of course, Office Supplies are tax deductible for Todd's business, so I made sure to have part of the binder dedicated to his business.  lol   I also put the list of what is tax deductible so it's handy when I'm out shopping.
Photobucket

Inside the back cover there is a pocket, so I stuck some post-it notes there.  I think I'll add at least one or two pockets there when I make the cover.
Photobucket

The only other thing I think I'm going to make are some folders to hold my coupons.  I won't have to use my coupon holder then, but I don't use lots of coupons anyway.
The dividers are labeled:
Calendar (with my list of birthdays and anniversaries here so I can get cards when one comes up),
Grocery List (coupons will be kept here),
To Do List,
TJDJ Trucking,
Original Designs by Jyl (JoAnn's coupons will be kept here),
Money,
and Travel (to keep info on our Hawaii trip for this Christmas we're starting to plan).

I also have a couple blank dividers and some extra paper.

Just for comparison - here's the Daytimer on top of the binder to show how much larger the binder is:
Photobucket

The thing I really love about it is that it's all loose-leaf, so I can change things around when I need to.  I'm really anxious to start on my new purse so I can make it large enough to carry the binder with me everywhere.  I am going back to work part-time for a little while, but only because someone just quit and I'm going to put the extra money into our "Hawaii" fund.  Although now I'm worried about being able to make enough product to sell at the craft shows I was wanting to do this spring/summer.  I'll have to see how things go working three days, and having four days off.

Keep checking back - I'll post pictures when I start on my new purse and I'll post updated pictures of the cover for the binder!!!!!

Wednesday, March 14, 2012

I'm thinking of doing a craft show or two this year.

The second Saturday of each month there is a large show in downtown (Historic) Georgetown.  While doing research on the cost of things and trying to figure out what to price my items at, I ran across a great blog post about The True Cost of Handmade.  Very interesting and I'd recommend everyong who appreciates handmade items read it.

Your comments would be appreciated - and feel free to visit my ETSY shop and give me feedback!

Thanks!!!!!

Thursday, March 8, 2012

I've been wanting one of these for a long time.....

Mom used to have something like this.  I've seen them at Michael's and can't remember how much they were, but I do remember thinking it was too expensive.  Then I joined Follow Me on Pinterest, I found instructions to make one!!!!  It's actually instructions to make a hamper, but I wanted to use it to hold my yarn.   The wood and hardware cost about $15 and the fabric I had on hand.  The blue fabric is kind of plastic coated and was kind of hard to work with.  I did make some changes on the bag (like I always do).  I made the main part of the bag, and had separate pieces that go over the dowels.

Here's the finished project:
Photobucket

Photobucket

Photobucket

The other change I made was adding a lining and pockets to the inside.  This allows me to keep my knitting needles, crochet hooks, patterns, etc. in it.  I haven't dug all my yarn out yet and I'm not sure it's all going to fit, but it will definitely better than what I had before.

I may end up making another bag, but for now I'm very happy with this!

Tuesday, March 6, 2012

Freightliner Seat Cover #2

My previous post was about the first seat cover I made for Todd's truck.  I decided he needed another one to switch out, so when he comes home we have another one to put in the truck and I can wash the one that was taken off.  We do this for everything he takes with him - from clothes to sheets and towels.  One bedroom in our house is dedicated to his stuff.  Everything is laid out in piles so when he comes home, he can just grab what he needs and I have until the next time he gets home to have everything washed.  This is especially helpful when he's only home for 12 to 24 hours.  If we didn't do this, I'd have to spend the whole time he's at home doing laundry.

Anyway, I wanted to take the new seat cover to check to make sure it was the right size so didn't get it all done before he left, so we washed the first one and he put that back on before he left.  This time he was home for two and a half days.  That sounds like a long time, but since he had been out for three weeks, we had lots of errands to run and he had one "honey-do" project for me (that will be in a separate post).
When we were at JoAnn's Fabric a while ago, I found this really neat semi fabric.  They only had one yard, so I bought it and didn't know what I was going to use it for.  That was a while ago, and I finally made it into a pillow case and used a pillow that was Todd's Mom's.  No picture yet of the pillow case, but from the scraps, I decided to use some of it for the new seat cover.
Photobucket
I really like the way it came out!!!!

Here it is on the office chair - it's not nearly as big as the seat in the truck :  Photobucket

I still have some work to do on it, but it will be done before Todd gets home again.  This is also two layers of denim and two layers of cotton batting,  The front pulls down and has elastic in it to keep it on.  I'll also add the button holes for the long strap unless he says that's not working.  He's got two arm rests in the truck, so the back can't go down too low.

Seat Cover #1 for Todd's Truck

After I made the seat covers for our Protege (which can be seen here), Todd asked me to make one for his truck (2006 Freightliner Columbia - post here).  He previously just had a piece of fleece, but that wasn't working very well.   Last time he was home, I got it done and he used it for the three weeks he was out.   Here's a picture of it on the office chair (I didn't get one of it in the truck).
Photobucket

I sewed his initials in it, but you can't see them very well, I should have done them in different thread, but it was a last minute decision.  (TJ is what his Mom and other relatives used to call him, I've always known him as Todd.)
Photobucket

When he came home it was pretty dirty, so I washed it and he said we needed to figure out a better way to keep it on the seat.  I had added a couple straps (that you can't see) on the bottom w/ velcro to hook around a bar underneath, but that wasn't quite enough.  So what I did (and no picture, sorry), was to add a large botton hole on each side where the seat meets the back, then made a long strap that can be adjusted (with double D Rings).  The strap is long enough to go all the way around the seat, so he can just pull it tight.  He's going to use that for a while and let me know if I need to add some velcro to keep it tight.

He seems to like it pretty well, he's shown it to a few people while out on the road.  The main part is two layers of the thickest denim we could find and two layers of all cotton batting.   It's REALLY heavy, so it will hold up with him getting in and out of the truck multiple times each day.  (I've already started another one that will be in the next post.