One thing I did use was how to print on fabric. I had heard many people do this, but never did myself. I just always bought the special paper at craft stores, but this is MUCH CHEAPER!! Which, if you know me at all, you know is something I LOVE. Anyway, you just use freezer paper and iron the shiny side to the fabric. I did that before I cut the fabric to the size of a regular piece of paper, 8 1/2 by 11.
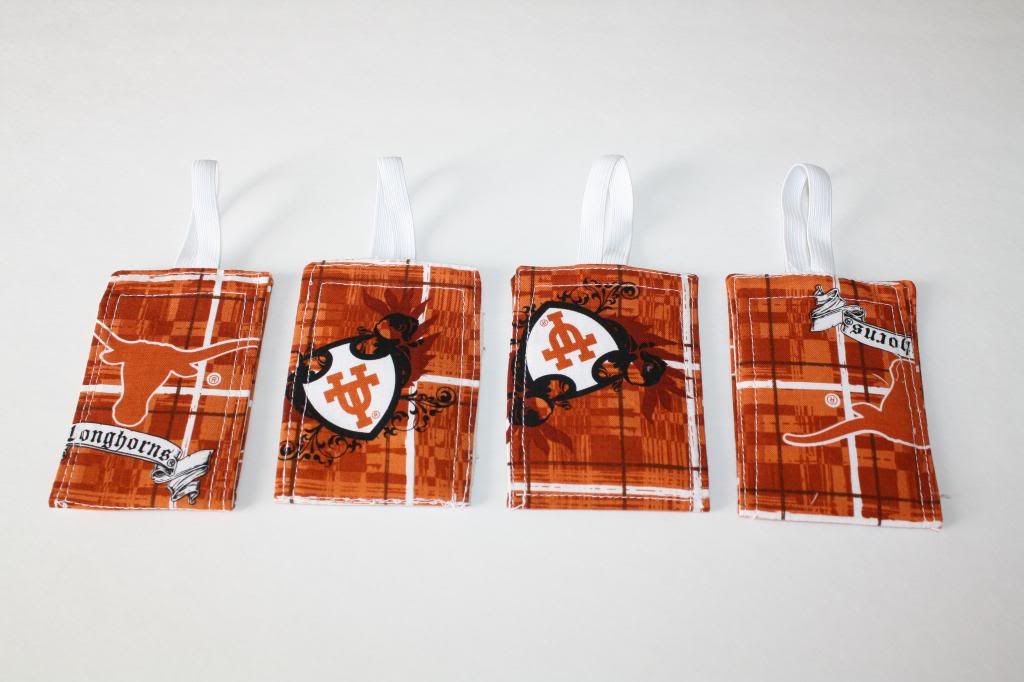
Anyway, I printed them off and went on my way. The first one I made didn't turn out too great, so I kept going and ended up with this:

One for each of our new piece of luggage. Our two checked bags and two carry-ons.
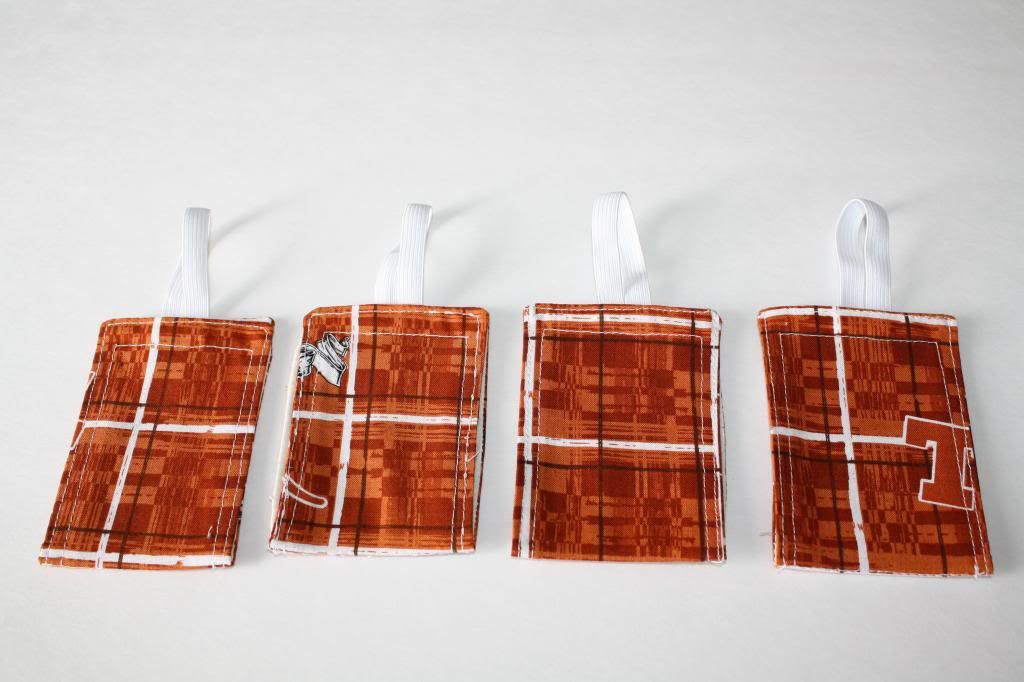
Other side:

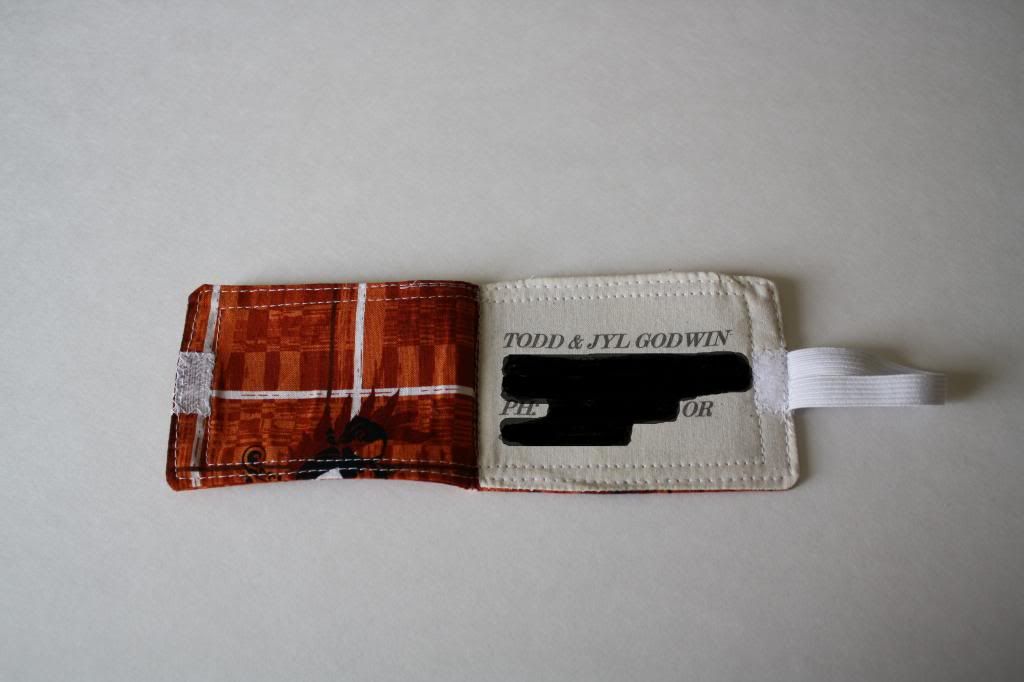
I made them so they just fold in half, and a small piece of velcro keeps it closed. Here's the inside:

I did put a piece of interfacing underneath the address for a little stiffness and just used elastic I had on hand to attach them to the handles. I already have a small piece of this fabric tied onto all the handles, so these will be additional. It will make our luggage much easier to find at the airport!