Snipits of my life............ My personal/family blog here:http://jylpers.blogspot.com/ Please visit my etsy shop at: tjdj.etsy.com. You can also find me on Facebook - just search for "Original Designs by Jyl"
Sunday, February 26, 2012
More finished Projects!!!!
I've been tired of dealing with our vertical blinds on the sliding glass doors for years, so finally decided to do something about them! We put them up right after we purchased the house in 1998 and they broke soon after that. We could still open and close them, but it was a pain! Last weekend I made a trip to JoAnn's and was very happy to see they had their Home Decor Fabric 50% off!
The first ones I did are in our bedroom. This fabric was not as expensive as what I used for the Living Room doors, but I still like it. I first started by just hemming all around the fabric, but then decided that was too plain, plus I had to take what fabric JoAnn's had - I really wanted 5 yards, but they only had a few pieces that were barely so I had to get one that was 2 yards and one that was 2.5 yards. So I decided to add some contrasting fabric on the top and bottom. (I'll show you better pictures of the top later down in the post.)
Then I started on the Living Room blinds yesterday. Here's the "before".
And "After"!!! I think they turned out nice. MUCH better than dealing with those icky blinds! The loops on the top make it easier to open and close them. Since I didn't want to have to buy more hardware, I just used loops on top with Velcro - easy to put up and take down!
This fabric was regularly $44.99 a yard, but was also 50% off. I wanted 5 yards of this, too, but they only had 4, so thought I'd add something on the top and bottom again. It's kind of hard to see the brown on the bottom in this picture.
On this one I decided to do a small ruffle on just the top.
I was really like the fabric, but would have liked the flowers to be more brown. I could have tried to special order fabric to see if I could get the color I wanted, but I didn't want to wait, so decided to go ahead with this.
This is the top of the ones in the bedroom. I had to make the loops a little longer since I didn't have as much fabric. I also thought they were a little dull, so added a stripe of brown on them. I also didn't like where the top border met the main part of the panel, so added a thick ribbon, which I think turned out pretty good!
Unfortunately the fabric is dry clean only. Since they are new there's still a lot of stabilizer in it, so I'm thinking of putting them in the dryer for a few minutes to "soften" them a little. I'm just worried they will shrink. Since I didn't have a pattern and just made them up as I went, they took me about a whole day for each set. I always have an "idea" in my head how I want them to look, but it changes as I go on and never really know what the final look will be. All in all, I'm very happy with both of them. I'm anxious for Todd to get home to let me know what he thinks!
Thursday, February 9, 2012
More Seat Covers.....
Another thing that has been on my "To Do" list for a while has been to make seat covers for our Mazda Protege. If you've followed my blog, you'll know that I have already made some for our CX-7. You can see the pictures here. This week I decided to finally get them done. Todd and I had picked out the fabric a while ago and it's been sitting on the shelf. I also found some plain grey fabric that matched. So, without further ado,
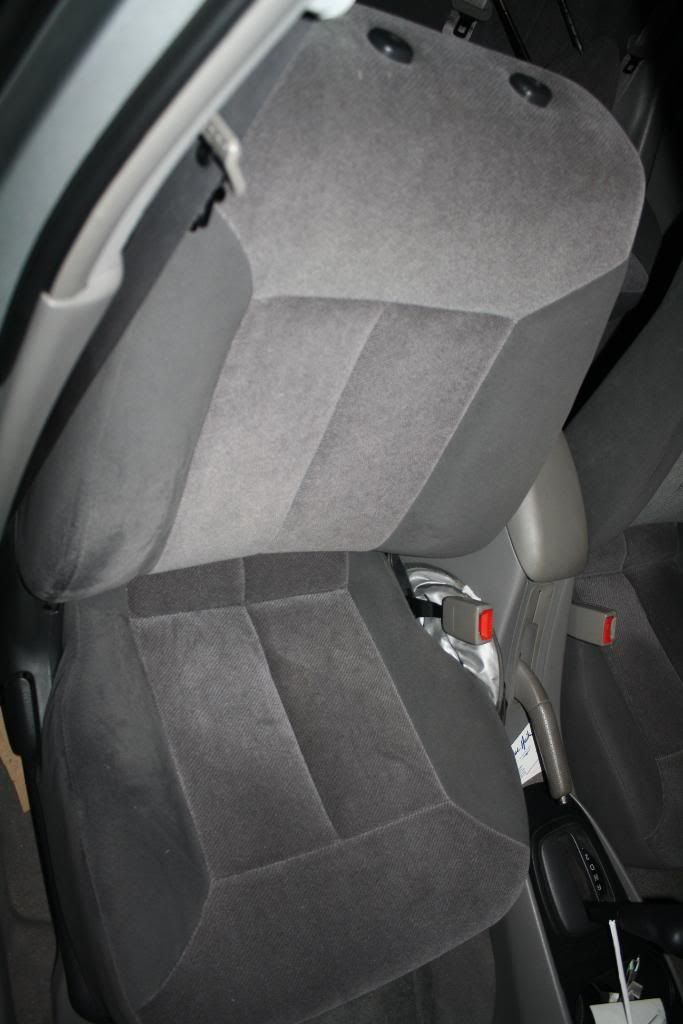
this a photo of the seat "before"

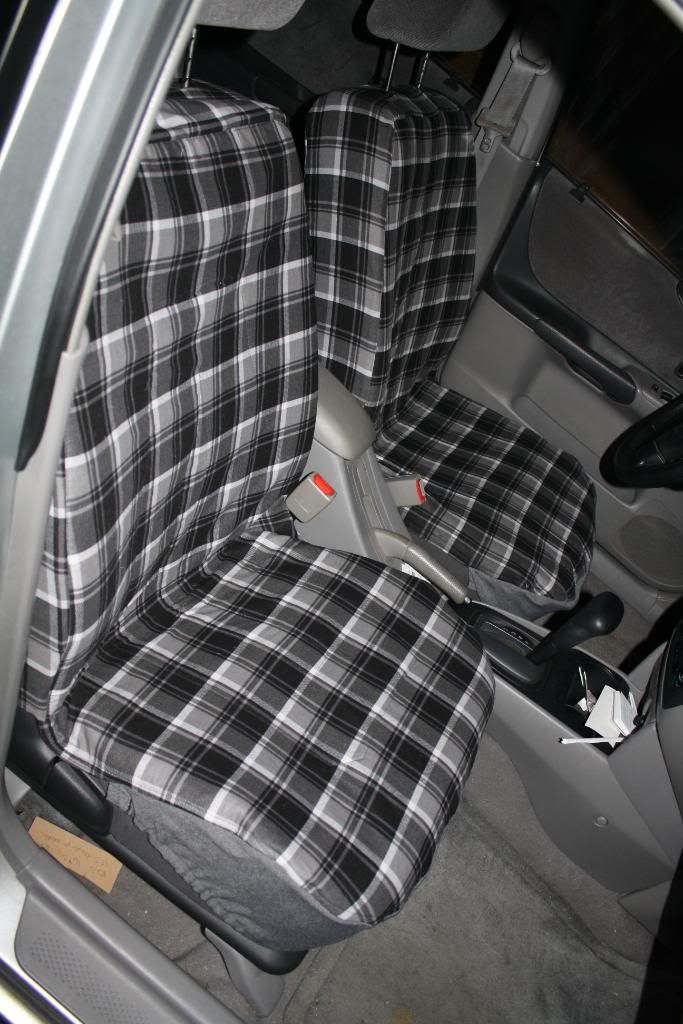
And "After"

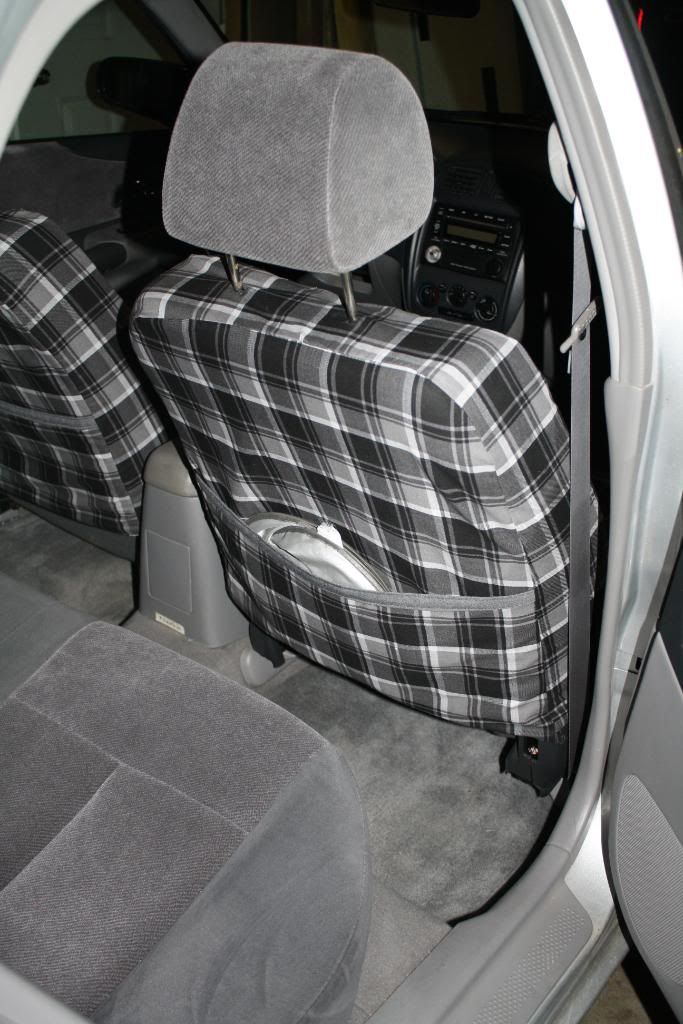
And I added pockets to the back (there were none before).

I was very happy with how they turned out!
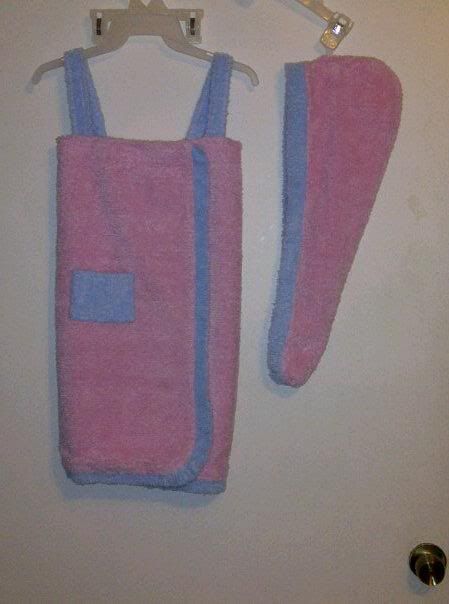
Our oldest granddaughter has a birthday in a few days, so I decided to make something for it. Seeing all the neat stuff on Pinterest, I decided she needed a spa towel. I had to guess at the measurements, but found sizing info on the 'net and think I'm pretty close.

As always, comments are welcome!!!
this a photo of the seat "before"

And "After"

And I added pockets to the back (there were none before).

I was very happy with how they turned out!
Our oldest granddaughter has a birthday in a few days, so I decided to make something for it. Seeing all the neat stuff on Pinterest, I decided she needed a spa towel. I had to guess at the measurements, but found sizing info on the 'net and think I'm pretty close.

As always, comments are welcome!!!
Labels:
Alyssa's Birthday,
car seat covers,
Protege,
spa towel
Subscribe to:
Posts (Atom)


