Tuesday, May 12, 2020
Wednesday, April 9, 2014
Tried something new - MUG RUGS!!
We went through a rough spell with one of my grandkids. He was having MAJOR behavioral problems in school. As soon as I found out about it, I got involved to help his mom and got to know his teachers and some school administrators. (I actually sat in his classroom all day for a week or two.) Luckily, with a few counseling sessions and some extra attention, he's doing much better. YAY!!!! I'm so proud of him!
Since the end of the school year is approaching and I've been playing with my new embroidery machine, I decided to make something for the people who helped us through the rough patch. I've been seeing people post Mug Rugs on Pinterest, so thought I'd try them.
Sunday I decided to tackle this new adventure. Since I took some time last week to organize my fabric, it was much easier to find fabric that goes together. (I sorted my fabric by color.) After deciding what fabrics to use, the next step was to find some embroidery designs to use. So, without further ado, here are the finished projects:
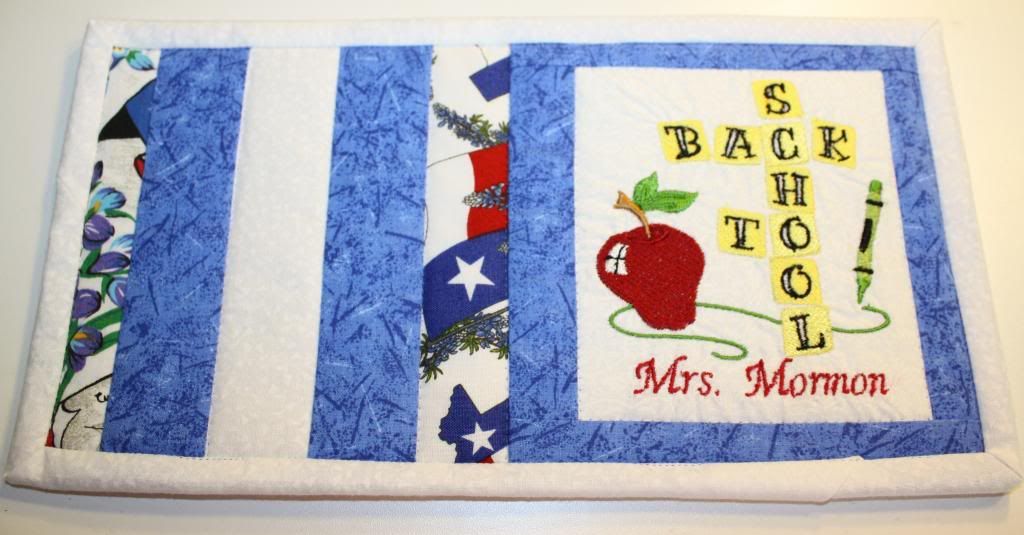
This is for the Principle - she was a big part of working with us. I had quite a few meetings and phone calls with her. This is one of the last designs I embroidered, and one of the few designs I've purchased. I think it turned out pretty well.
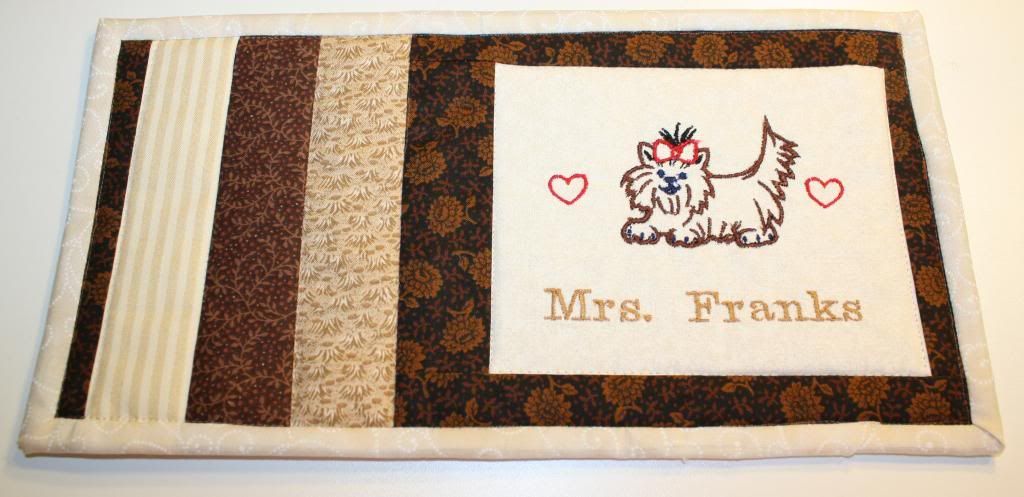
This one is for the Assistant Principle - I spent a couple of days in her office so knew she likes Yorkies. This was a free design!
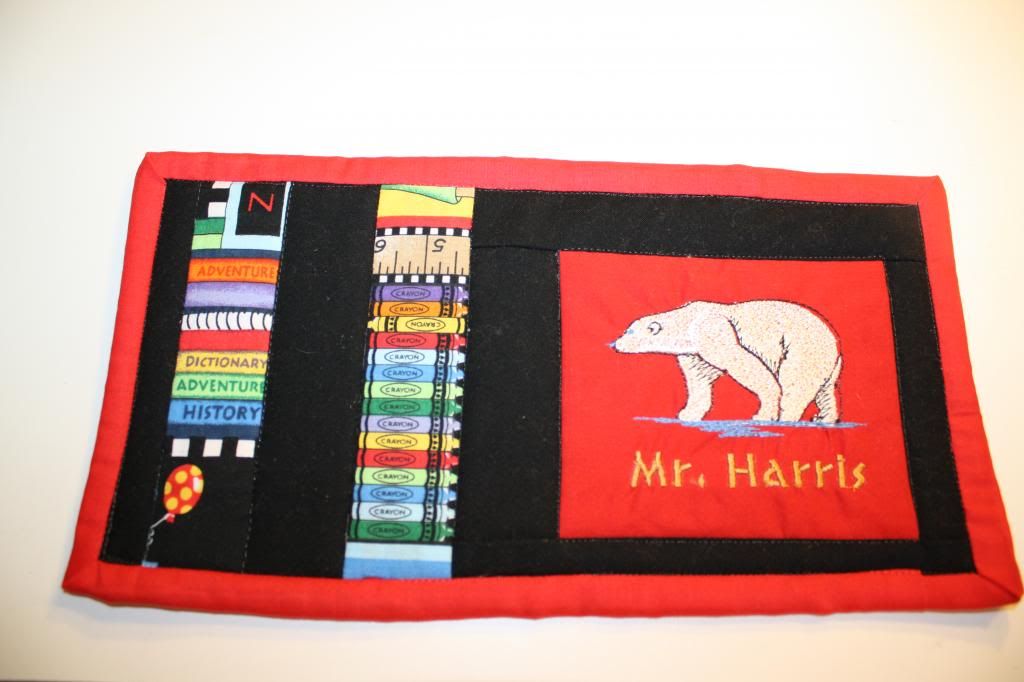
This is for another staff member who helped in the beginning. I just have to say, men are harder to make things for!!!! Their school mascot is a polar bear = another free design.
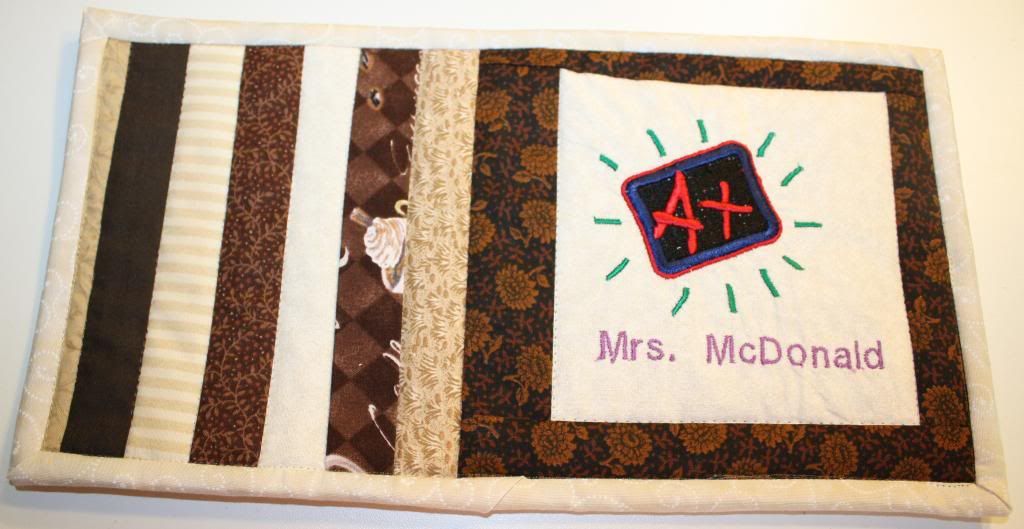
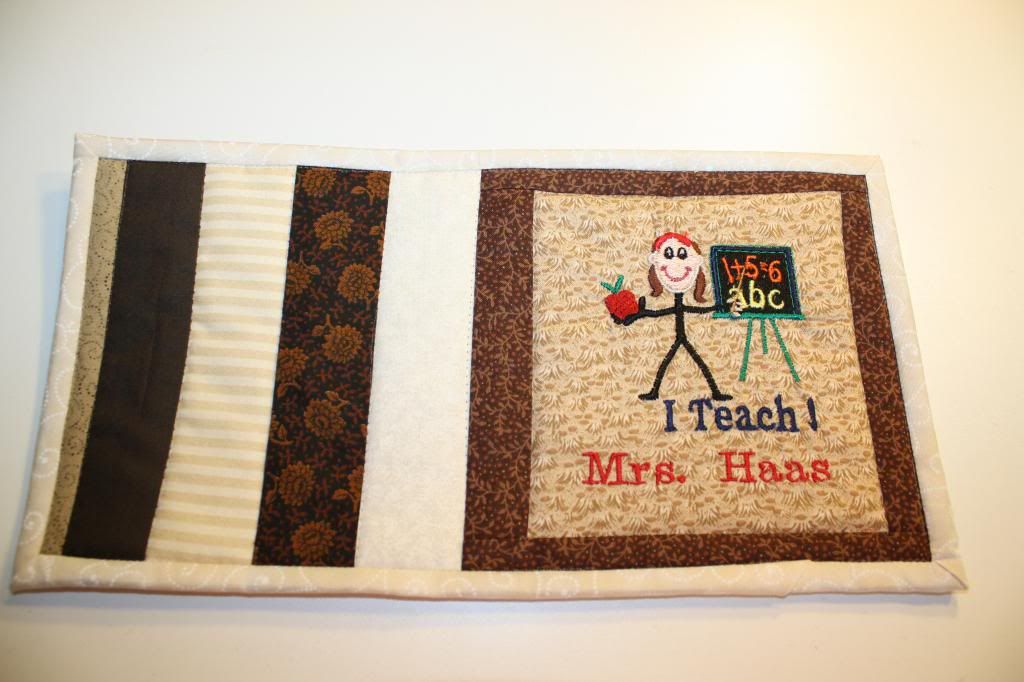
The last two are for his teachers. When I sat in class with him, he had Mrs. McDonald in the morning and Mrs. Haas in the afternoon. After Christmas break, they decided to try to switch and he's doing much better. Both of these were also free designs.
I found five different web sites that post free designs - it changes every 10 minutes, so I've gotten TONS of free ones from there. Free is always the best, but there have been a few I've purchased.
Anyway, I really hope they enjoy the gifts. Mug Rugs are really fun to make - I'm thinking I need one now!!! :D
Since the end of the school year is approaching and I've been playing with my new embroidery machine, I decided to make something for the people who helped us through the rough patch. I've been seeing people post Mug Rugs on Pinterest, so thought I'd try them.
Sunday I decided to tackle this new adventure. Since I took some time last week to organize my fabric, it was much easier to find fabric that goes together. (I sorted my fabric by color.) After deciding what fabrics to use, the next step was to find some embroidery designs to use. So, without further ado, here are the finished projects:
This is for the Principle - she was a big part of working with us. I had quite a few meetings and phone calls with her. This is one of the last designs I embroidered, and one of the few designs I've purchased. I think it turned out pretty well.

This one is for the Assistant Principle - I spent a couple of days in her office so knew she likes Yorkies. This was a free design!

This is for another staff member who helped in the beginning. I just have to say, men are harder to make things for!!!! Their school mascot is a polar bear = another free design.

The last two are for his teachers. When I sat in class with him, he had Mrs. McDonald in the morning and Mrs. Haas in the afternoon. After Christmas break, they decided to try to switch and he's doing much better. Both of these were also free designs.


I found five different web sites that post free designs - it changes every 10 minutes, so I've gotten TONS of free ones from there. Free is always the best, but there have been a few I've purchased.
Anyway, I really hope they enjoy the gifts. Mug Rugs are really fun to make - I'm thinking I need one now!!! :D
Friday, February 28, 2014
I thought it had been close to a year since my last blog post.
But it's only been since last July. Not as bad as I thought it was.
I've been busy the last year - I made seven or eight trips to Nebraska to help Todd's dad with doctor appointments and surgeries. He had surgery for his aortic aneurysm in April (after finally getting his blood pressure medication right), then also had a couple minor procedures on his eyelids later in the year. My last trip was over Thanksgiving. Since we were in Hawaii for Christmas 2012, we decided last Christmas we wanted to be home. We have a couple more trips scheduled for this coming summer, so it's nice to have something to look forward to.
The time between trips last year was spend working on the garden and sewing. I've made LOTS of stuff and didn't always get pictures, but here are some:
I found this fabric on clearance at Hobby Lobby. It's similar to the curtains I made for the living room, so couldn't resist buying it.

Since we had new windows put in last year, I still needed some curtains for the front windows. So this is what I came up with. I used my serger for most of it. I'm still kicking around the idea of putting a lining on them, but if I do, the sun won't come through.
I already posted the pencil bag I made for Alyssa, so I also made one for Angel.

I find TONS of things to make on Pinterest, and one was a car trash can!!!! It's designed so you use plastic bags for the lining making it really easy to switch them out and you don't have to worry too much about what you put in it. Made a BUNCH of these!
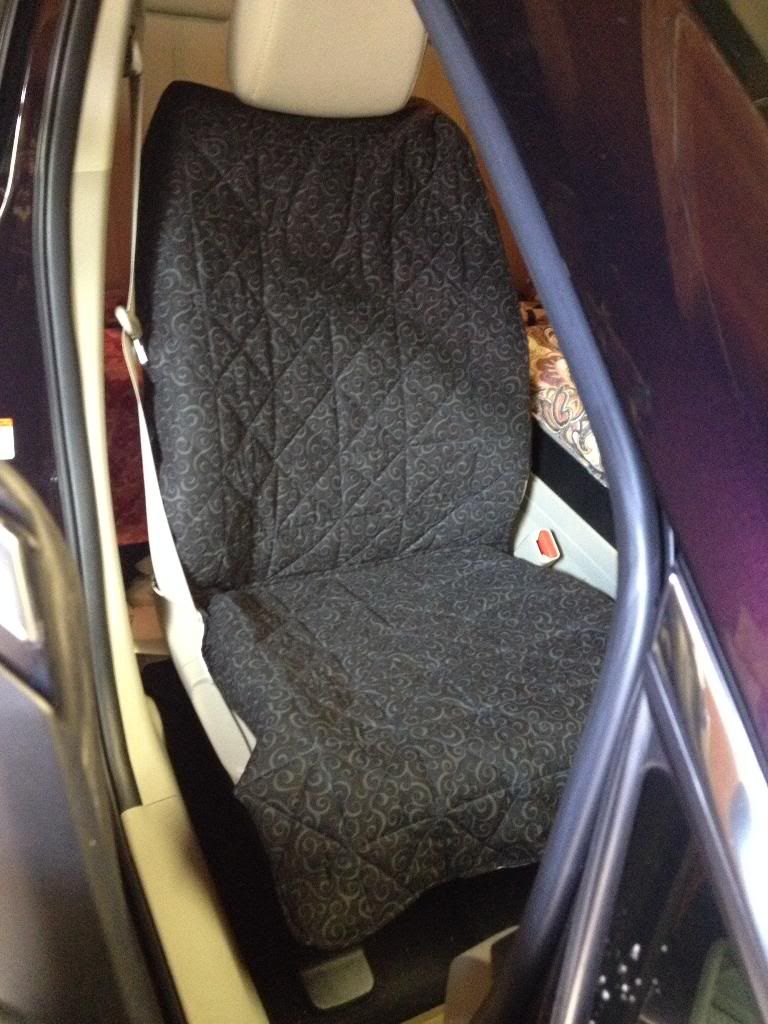
One of my last trips to Todd's dad, I also took time to go see my family. My sister had just gotten a new car and asked if I could make some seat covers. We took one of the seat covers off my car to see if it would fit, so I made them pretty much the same. These are hers - the inside of her car is black, so we wanted to stay with the same color. Their initial is in the middle.
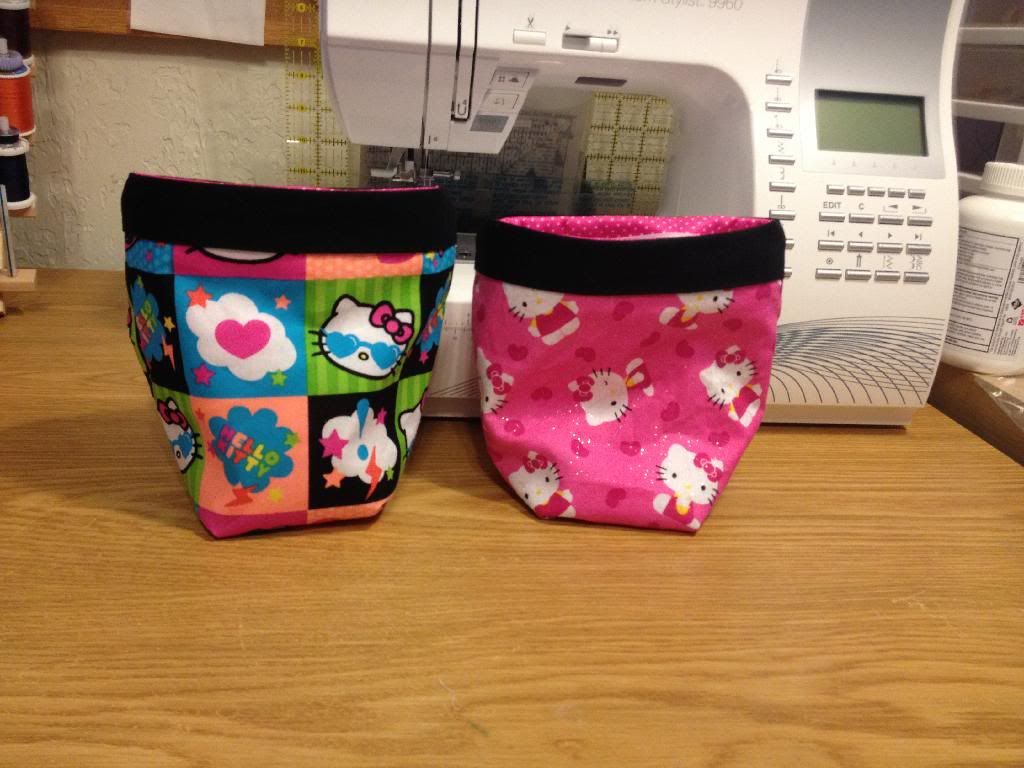
These were Christmas presents for McKenna. Another Pinterest project. They are reusable snack bags. I made her five and she seems to like them. I had made me a couple to use during my trips in the car and Megan said they would be a good gift for McKenna.
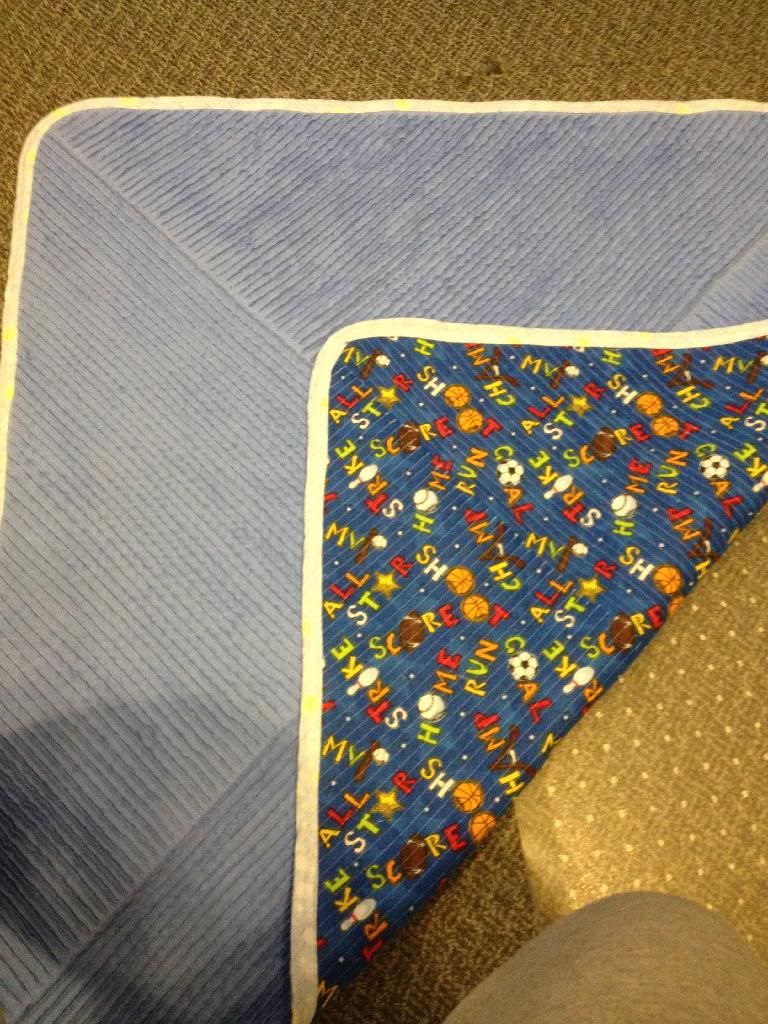
This is Hudson's faux Chenille quilt. I make one for each grandchild.
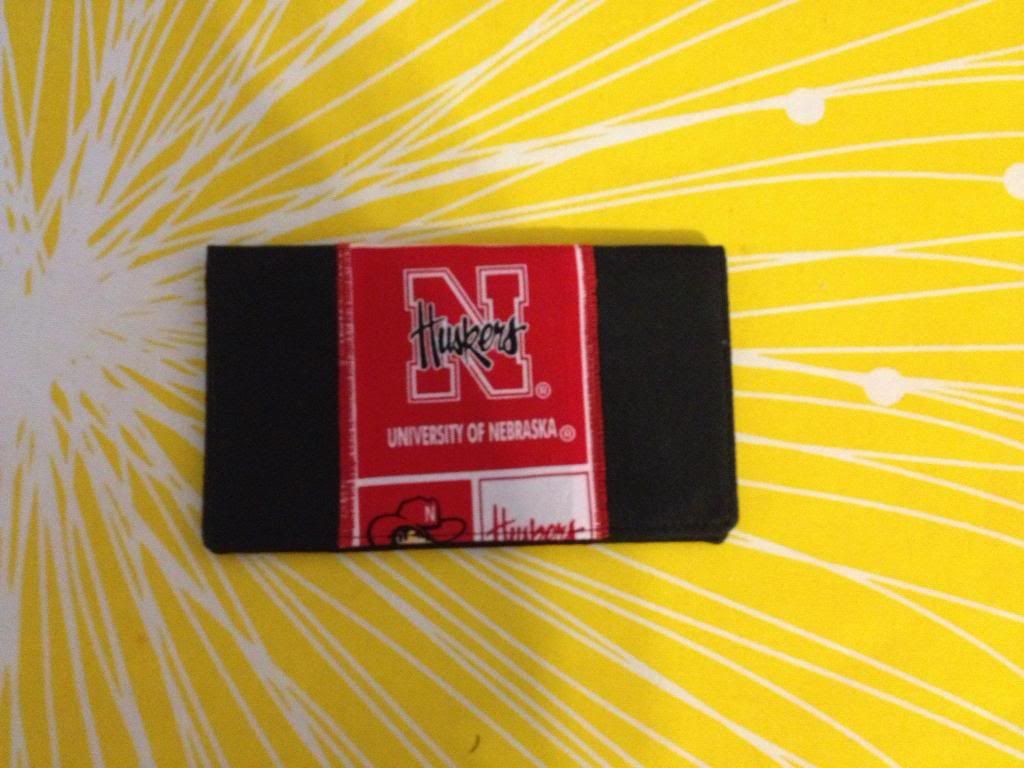
I had made a checkbook cover for me and when Todd's dad saw it, he said "you could make me one of those". lol I always look for "Nebraska" fabric when I'm up there and this was the prefect project to use some if it on! (also found pattern on Pinterest)
And finally, after make tons of stuff to give other people, I got to make something for me!!!! I've been collecting fabric of things I love - sewing, baking, wine, coffee, travel, etc. Intermingled are scriptures. We've been having lots of cold weather, so started out making it for me to use in the living room while I'm watching TV, but then it got a little bigger and now it fits on our bed. It also has denim on the back, so it's very heavy (which means it's very warm).
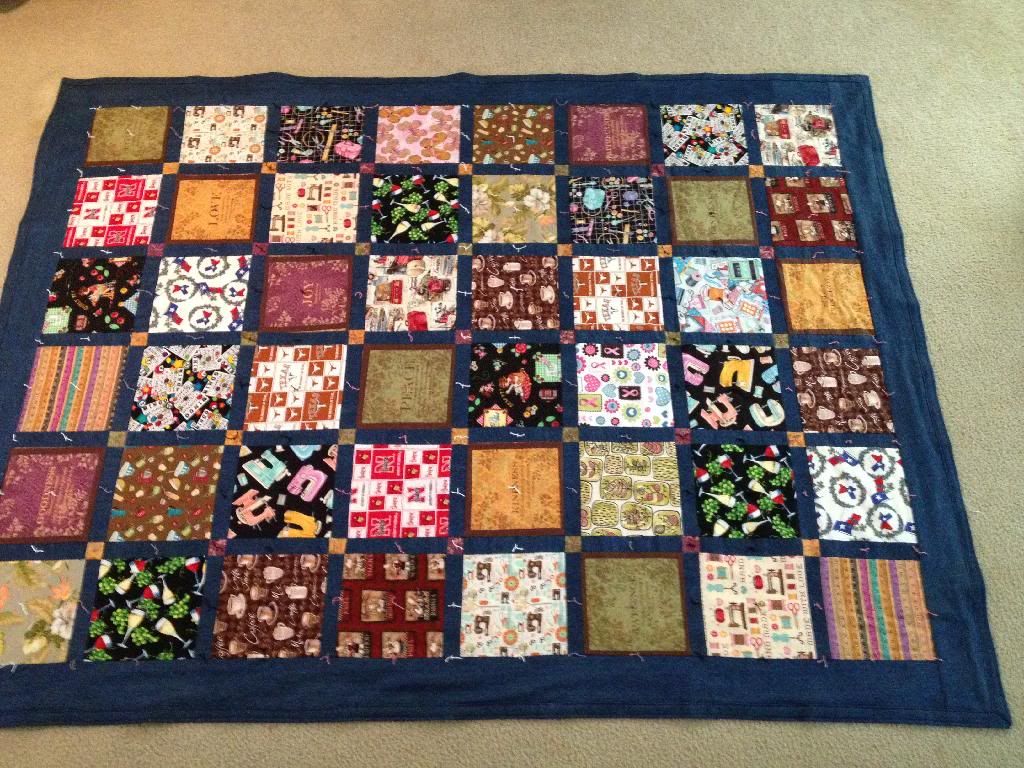
I decided to put a label on it - you can't read it, but it says "Favorite Things by Jyl Godwin January 2014".
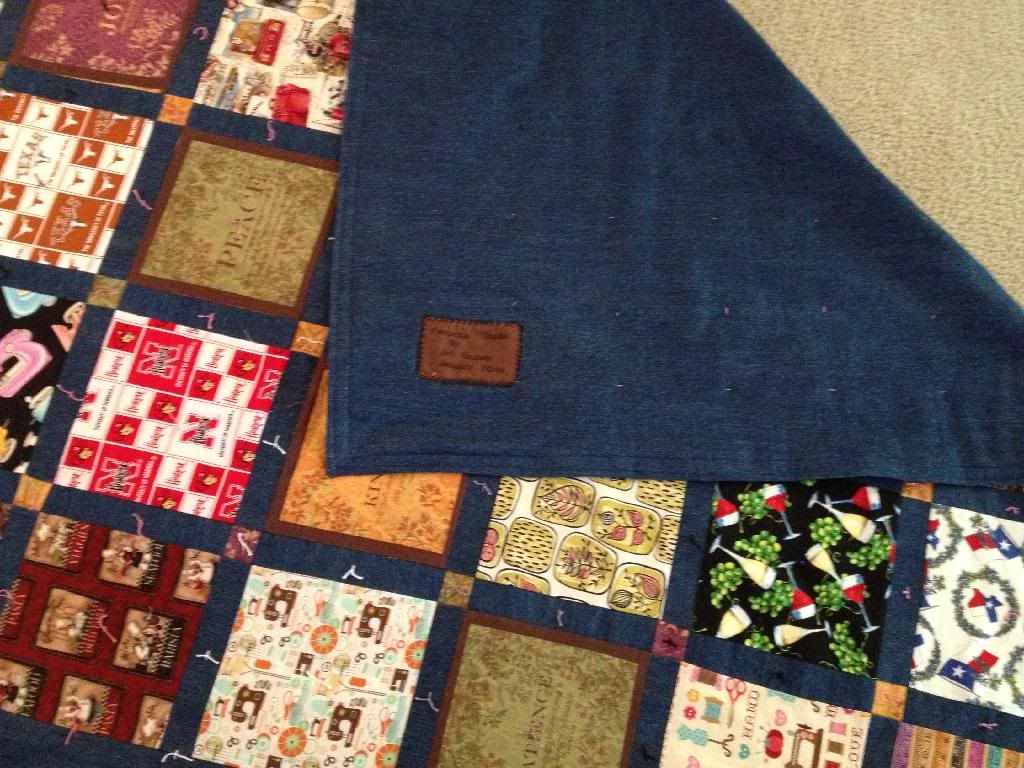
Each fabric on it has it's own meaning - I used some I brought home from Nel's, a piece or two that I brought home from Rena's, and used scraps of the dress I made for our trip to Hawaii.
Well, I'm going to try to keep up with my blogs a little better. I have another new sewing machine that does embroidery, so that's what the next post will be about. But before that, I'll jump over to my "personal" blog to update it on our Guest Bathroom Remodel.
Take care!!!!
Jyl
I've been busy the last year - I made seven or eight trips to Nebraska to help Todd's dad with doctor appointments and surgeries. He had surgery for his aortic aneurysm in April (after finally getting his blood pressure medication right), then also had a couple minor procedures on his eyelids later in the year. My last trip was over Thanksgiving. Since we were in Hawaii for Christmas 2012, we decided last Christmas we wanted to be home. We have a couple more trips scheduled for this coming summer, so it's nice to have something to look forward to.
The time between trips last year was spend working on the garden and sewing. I've made LOTS of stuff and didn't always get pictures, but here are some:
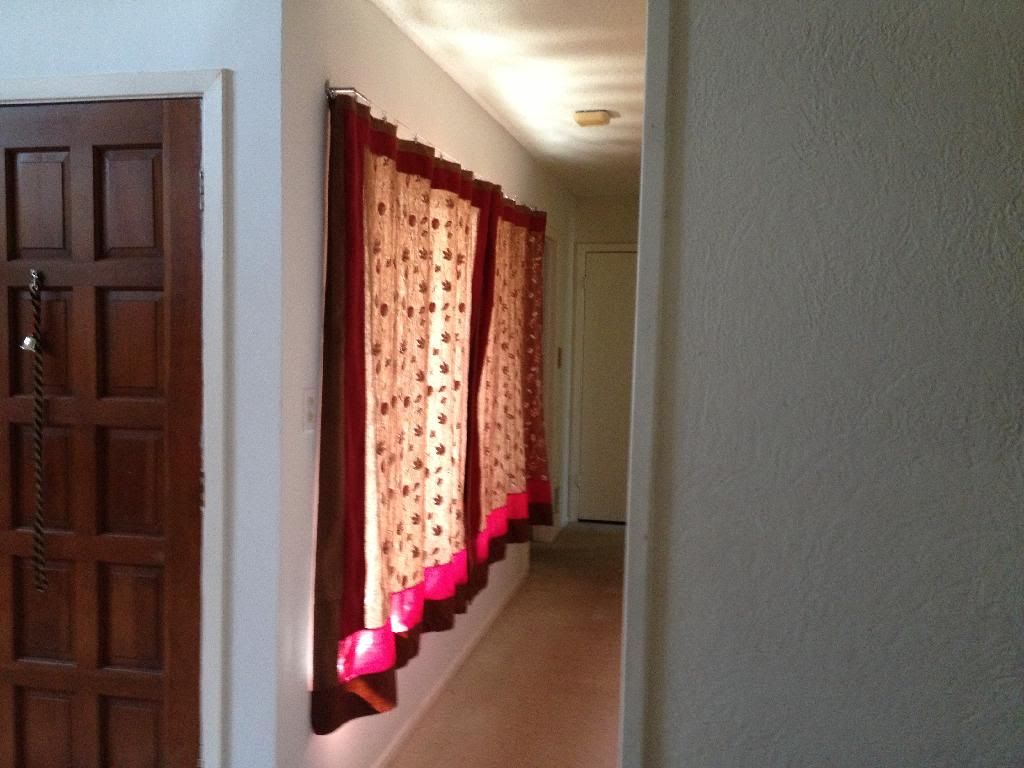
I found this fabric on clearance at Hobby Lobby. It's similar to the curtains I made for the living room, so couldn't resist buying it.

Since we had new windows put in last year, I still needed some curtains for the front windows. So this is what I came up with. I used my serger for most of it. I'm still kicking around the idea of putting a lining on them, but if I do, the sun won't come through.

I already posted the pencil bag I made for Alyssa, so I also made one for Angel.

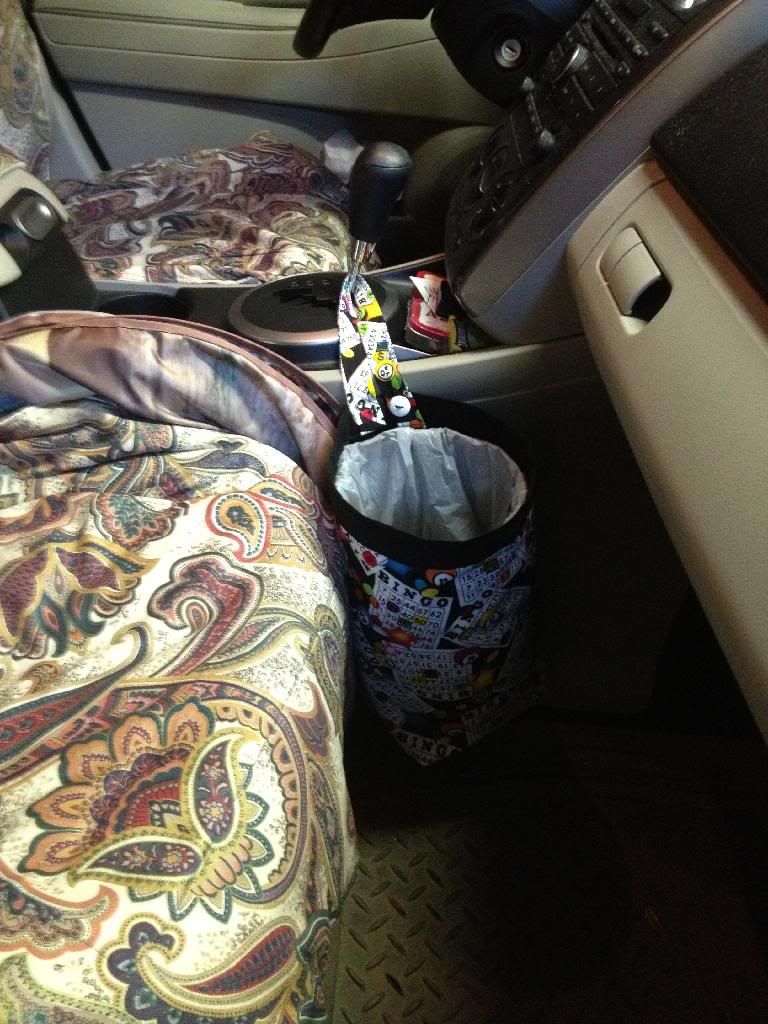
I find TONS of things to make on Pinterest, and one was a car trash can!!!! It's designed so you use plastic bags for the lining making it really easy to switch them out and you don't have to worry too much about what you put in it. Made a BUNCH of these!


One of my last trips to Todd's dad, I also took time to go see my family. My sister had just gotten a new car and asked if I could make some seat covers. We took one of the seat covers off my car to see if it would fit, so I made them pretty much the same. These are hers - the inside of her car is black, so we wanted to stay with the same color. Their initial is in the middle.

These were Christmas presents for McKenna. Another Pinterest project. They are reusable snack bags. I made her five and she seems to like them. I had made me a couple to use during my trips in the car and Megan said they would be a good gift for McKenna.

This is Hudson's faux Chenille quilt. I make one for each grandchild.

I had made a checkbook cover for me and when Todd's dad saw it, he said "you could make me one of those". lol I always look for "Nebraska" fabric when I'm up there and this was the prefect project to use some if it on! (also found pattern on Pinterest)

And finally, after make tons of stuff to give other people, I got to make something for me!!!! I've been collecting fabric of things I love - sewing, baking, wine, coffee, travel, etc. Intermingled are scriptures. We've been having lots of cold weather, so started out making it for me to use in the living room while I'm watching TV, but then it got a little bigger and now it fits on our bed. It also has denim on the back, so it's very heavy (which means it's very warm).

I decided to put a label on it - you can't read it, but it says "Favorite Things by Jyl Godwin January 2014".

Each fabric on it has it's own meaning - I used some I brought home from Nel's, a piece or two that I brought home from Rena's, and used scraps of the dress I made for our trip to Hawaii.
Well, I'm going to try to keep up with my blogs a little better. I have another new sewing machine that does embroidery, so that's what the next post will be about. But before that, I'll jump over to my "personal" blog to update it on our Guest Bathroom Remodel.
Take care!!!!
Jyl
Wednesday, July 17, 2013
I'm sorry it been so long.....
I've been telling myself I needed to get my camera out for a few months, but never actually took time to create another blog post. I have sewn quite a few things, but don't have too many pictures. They are mainly small things that I've found on Pinterest and wanted to try. I'll post them eventually.
For now, I do have one major project to show. You'll remember when I was so excited I found two desks at The Caring Place (thrift store here in town) for $10 each. Here they are:
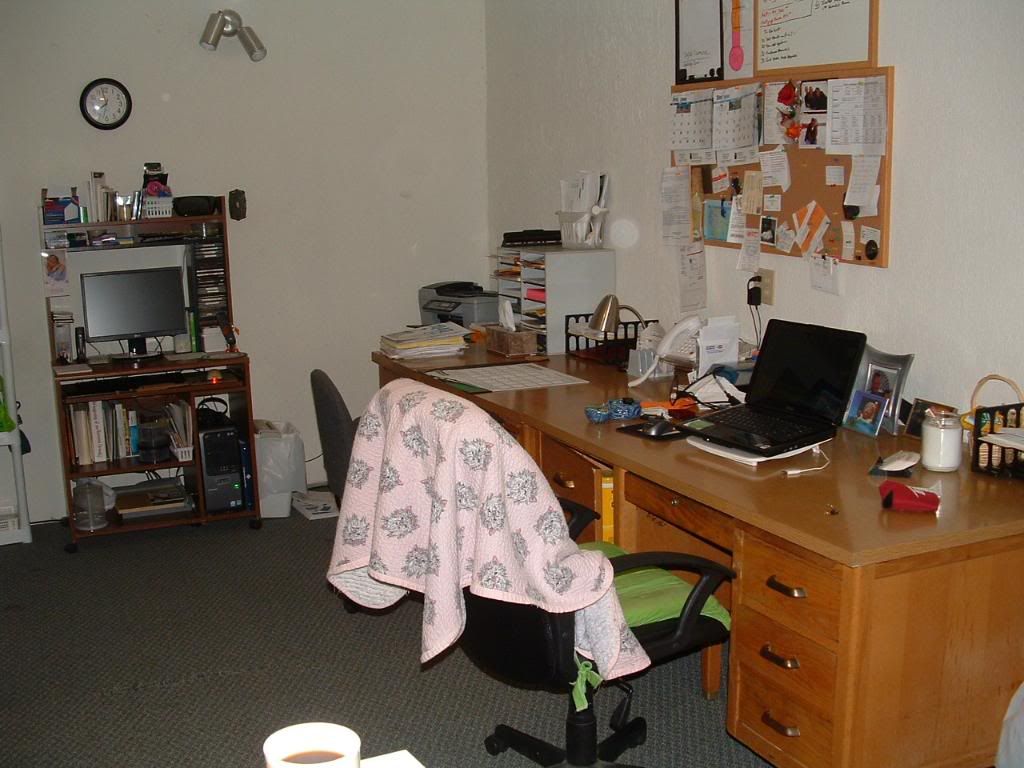
Then I added the bookcase to the top (my Ikea hack):
The thought has been going through my mind to try to paint the desk and bookcase so when Todd's Dad was healing from surgery and I thought I had lots of time at home, I decided to take the plunge. One morning I decided (as I often do) to start. Ran to Home Depot and spent $120 on paint and supplies. This was the first painting project I've done for quite a few years, but I'm very happy with the end result.


 You can't tell, but there are dogs between her last name. :D Hers is a little larger than mine, it holds 10 daubers.

I made is so ti only holds 8 daubers. We went to Bingo last Saturday night so I had to buy enough daubers to fill it up and Sam forgot hers!!! lol
And as you may know, we have another grandbaby!!! Hudson was born on March 9, 2013
 We finally got to meet him last month. David and Megan are back from Hawaii for good (sad we can't go visit them again) and they were here for a few days over Father's Day.
For each grandbaby, there are a few things I make. I've already made him an afghan, so I decided I needed to start his name quilt. It's just his name appliqued onto the sandwich, but I do hand quilt the lines. So it's in the middle of our living room right now. Hopefully it will be done by the time Todd makes it home again.


For now, I do have one major project to show. You'll remember when I was so excited I found two desks at The Caring Place (thrift store here in town) for $10 each. Here they are:

Then I added the bookcase to the top (my Ikea hack):

The thought has been going through my mind to try to paint the desk and bookcase so when Todd's Dad was healing from surgery and I thought I had lots of time at home, I decided to take the plunge. One morning I decided (as I often do) to start. Ran to Home Depot and spent $120 on paint and supplies. This was the first painting project I've done for quite a few years, but I'm very happy with the end result.

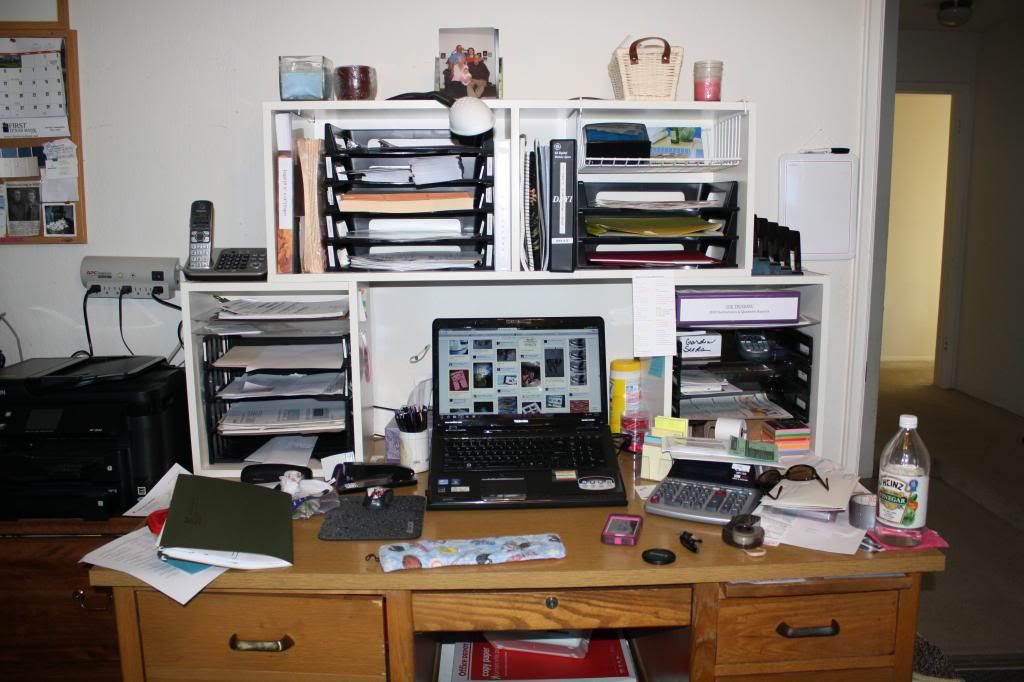
You can see in the bookcase that it's painted pink, as is the inside of the drawers and the left compartment. It was hard and took a while, but I'm pretty happy with it.


I took the handles off and found some brass cleaner and scrubbed for a LONG time, but they look lots better.

The hole in the back of the bookcase is just some foam board I had and covered it with fabric (that is also on the bottom of the drawers) and nailed in each corner. Not as sturdy as a bulletin board, but works just the same.
Another project - BINGO Bags! I saw a lady had one while we were at Bingo a while go so snapped a picture.

I decided to search on Pinterest to see if I could find a pattern. Didn't find an actual pattern, but enough information for me to make one. I made one for Sam first. Used my new sewing machine that has lots of different stitches.
 You can't tell, but there are dogs between her last name. :D Hers is a little larger than mine, it holds 10 daubers.
And mine:

I made is so ti only holds 8 daubers. We went to Bingo last Saturday night so I had to buy enough daubers to fill it up and Sam forgot hers!!! lol
And as you may know, we have another grandbaby!!! Hudson was born on March 9, 2013

For each grandbaby, there are a few things I make. I've already made him an afghan, so I decided I needed to start his name quilt. It's just his name appliqued onto the sandwich, but I do hand quilt the lines. So it's in the middle of our living room right now. Hopefully it will be done by the time Todd makes it home again.

And finally!!!!! I decided to splurge and replace the curtains that were in the living room by the kitchen. While at JoAnn's a few weeks ago, I noticed they had their Home Decor fabric 50% off, plus I had a 10% off entire purchase coupon, so decided to get some more fabric that I made the curtains for the sliding glass doors in the living room. Anyway, the fabric for this small window cost over $80 - and that's at 60% off!!!!! I made them the same as the others and it looks MUCH better!

The bad part is that Todd now wants me to make some for the two LARGE windows we have in the dining room and front hallway. Those windows are about 4 times the size as this one, so we'll have to wait until we build up some more money until that's done.
I have more pictures of my garden that I'll post on my other blog soon. The problem I have is I've been using Photobucket to keep my pictures and I'm running out of room. I need to either pay for more storage space (and I'm to "frugal") to do that, or delete some photos to free up some more room. Soon I'll need to go through them and decide what to keep and what not to keep.
Tuesday, May 14, 2013
After three (and a half) trips to Nebraska, I'm finally home for a while!
It's been so busy for me, but I finally got home a couple of weeks ago. My FIL had surgery on April 19, 2013 to correct his Aortic Aneurysm and it went very well. I stayed with him to recover, then he had an Eye Dr. appointment at the VA Hospital in Omaha on May 1, so decided to stay to take him to that. He also had a follow-up appt with the surgeon on May 2, so once he got a clean bill of health, I headed home again. That trip was two weeks, so I was very anxious to get home! I didn't take Brute with me this time, since we were going to be had the hospital and staying with my parents a few nights, I just thought it would be best to let Samantha keep him. I don't know who was more excited for me to get home - me or him. I missed him SOOO MUCH!!!
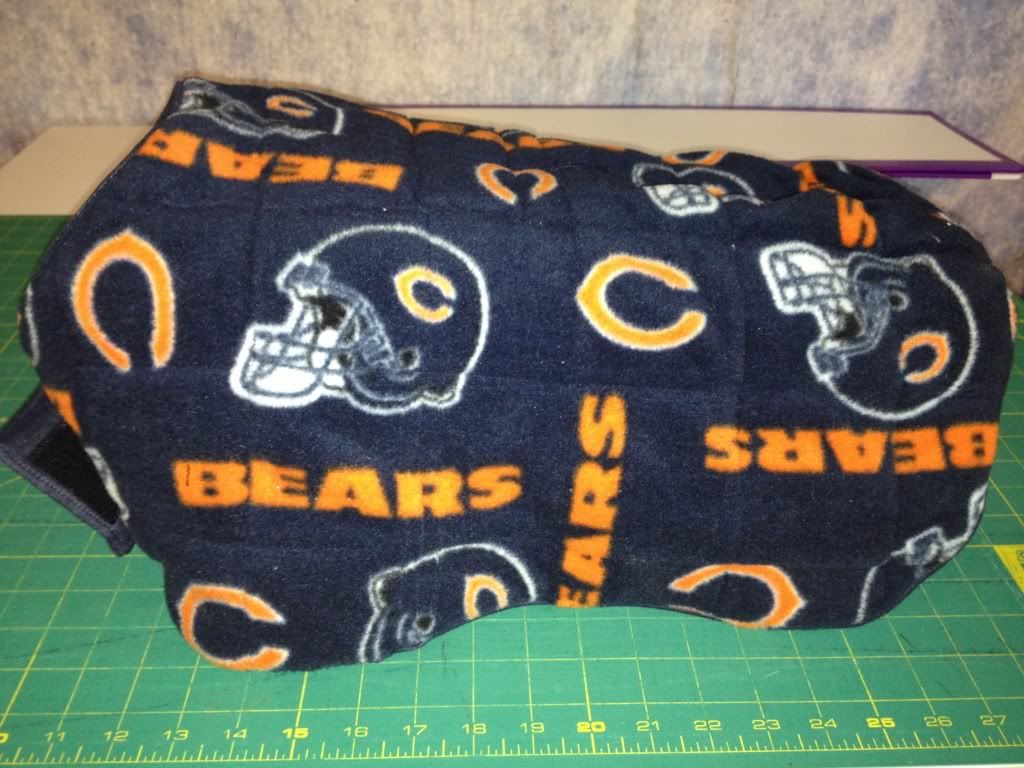
I did get to spend a little time with my family in Milford, and my sister on the last trip. (Saw my parents on the other visits, but it never worked out to see her.) Anyway, she wanted me to make a coat for her grand-dog (her son's dog, she doesn't have grandKIDS yet). (I had made one for Brute and our trips to Nebraska, so I'll need to upload those pictures and do a separate post.) They are fans of the Chicago Bears, so I found some fleece to use. Here's the finished product before I sent it to her:
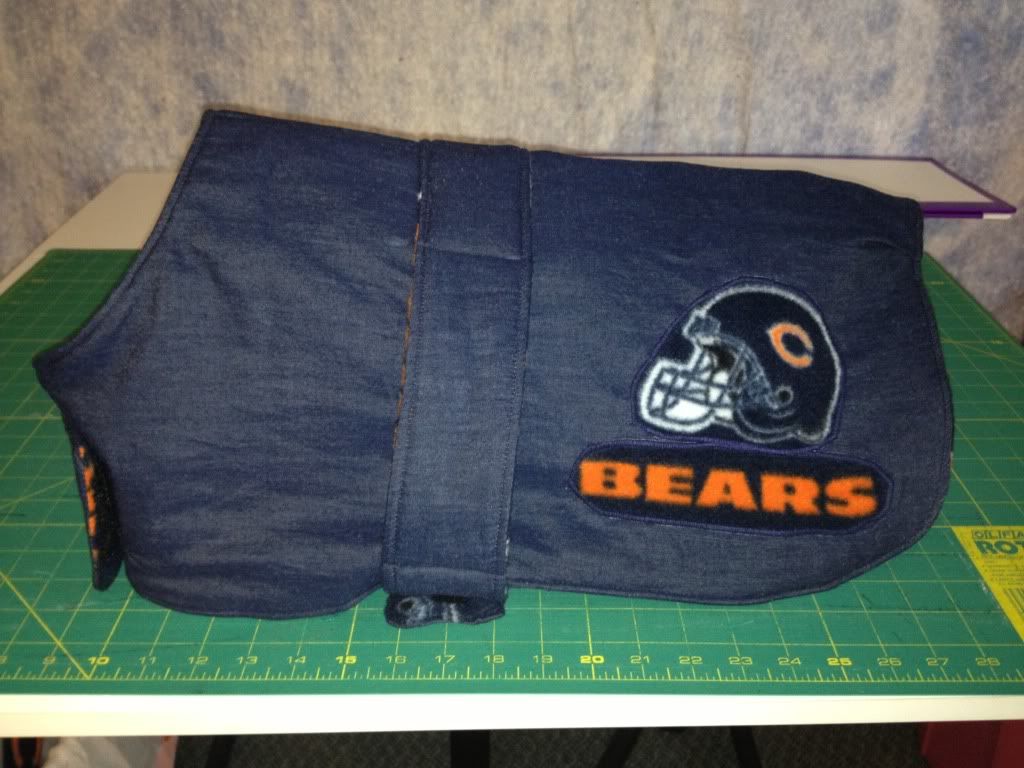
The inside:
And the picture she sent me yesterday after she received the package:
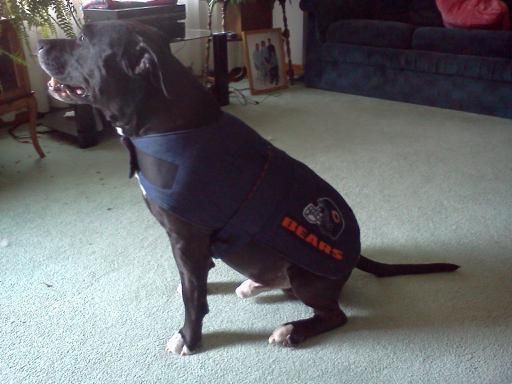
His name is Zeus. lol A really nice pit bull.
I'm so glad it fits. She sent along the old coat they had for him so I used that as a pattern.
Oh, and this was the first thing I made with my NEW SEWING MACHINE!!! Not that I needed another one, this is #6. I put three of the old ones upstairs and whenever the girls are ready, they can have them.
I'm itching to get back in the office to do some more sewing so keep checking back! I'm going to try to get back to posting blogs more often! (We have a trip coming up to Las Vegas, so if I make anything for that I'll make sure to post them)
I did get to spend a little time with my family in Milford, and my sister on the last trip. (Saw my parents on the other visits, but it never worked out to see her.) Anyway, she wanted me to make a coat for her grand-dog (her son's dog, she doesn't have grandKIDS yet). (I had made one for Brute and our trips to Nebraska, so I'll need to upload those pictures and do a separate post.) They are fans of the Chicago Bears, so I found some fleece to use. Here's the finished product before I sent it to her:

The inside:

And the picture she sent me yesterday after she received the package:

His name is Zeus. lol A really nice pit bull.
I'm so glad it fits. She sent along the old coat they had for him so I used that as a pattern.
Oh, and this was the first thing I made with my NEW SEWING MACHINE!!! Not that I needed another one, this is #6. I put three of the old ones upstairs and whenever the girls are ready, they can have them.
I'm itching to get back in the office to do some more sewing so keep checking back! I'm going to try to get back to posting blogs more often! (We have a trip coming up to Las Vegas, so if I make anything for that I'll make sure to post them)
Monday, March 18, 2013
No, I haven't fallen off the face of the earth.
I've just been neglecting my blogs. lol
We had an absolute WONDERFUL time on out trip to Hawaii. It was so nice to see Megan and her family and our beach cottage at Turtle Bay Resort was HEAVEN. I really don't think I've ever been anywhere so beautiful. I'll do a post with pictures on that on my other blog one of these days.
In the mean time, I have been sewing some things. I'll work backwards - today I made a pencil case for Alyssa (our oldest granddaughter who turned 10 in February). She needed one to put in her binder, so I looked on Pinterest and found this tutorial. (You have to log in to get it, but it's a good tute.) As usual, I didn't make mine exactly like the tute, but the only thing I changed was how I did the zipper. Mine is how I make cosmetic bags and I think looks a little better. Since I don't have a really fancy sewing machine (yet) that does cool names, I just used the Bernina that was my MIL's.
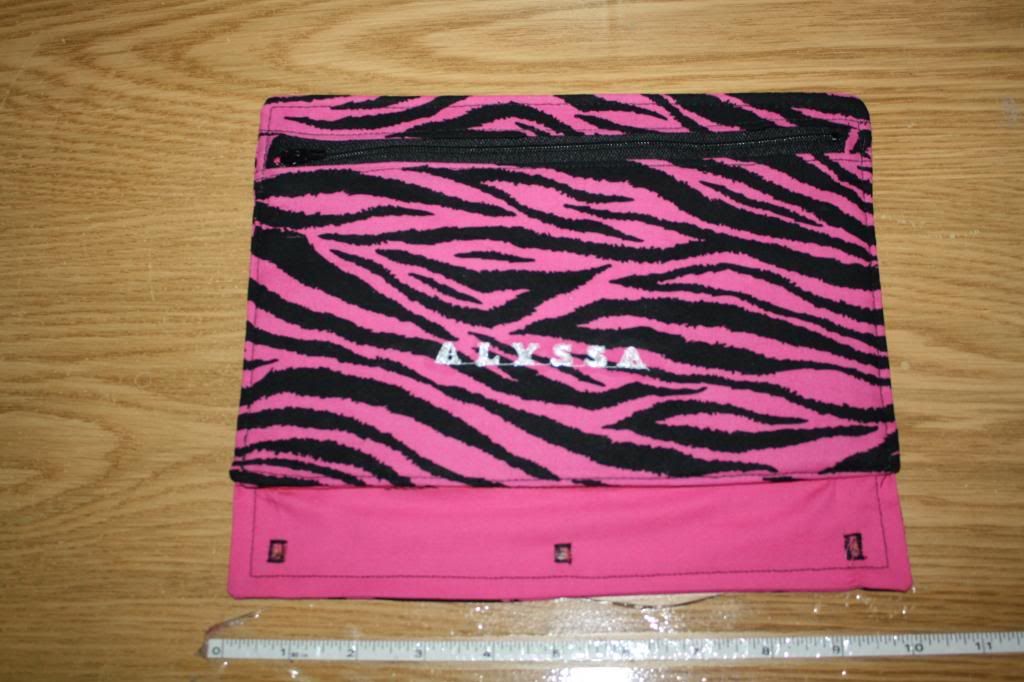
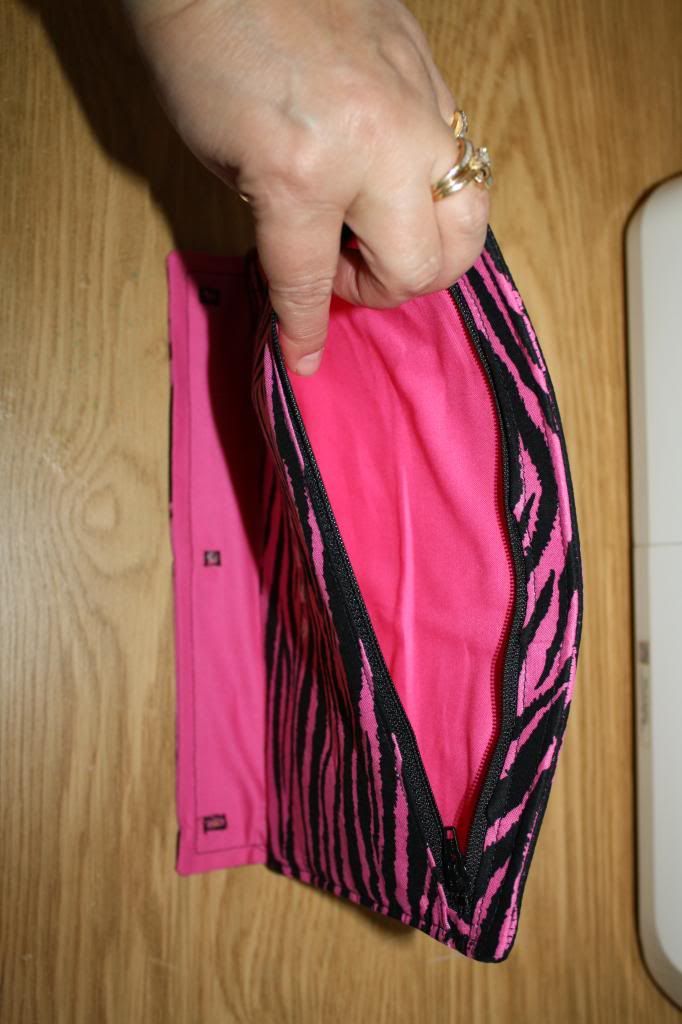
It turned out pretty good. I think she'll like it. The only thing I should have done differently is make the buttonholes on the bottom a little bigger. But I can always make them bigger if she wants me to.
I had to make a quick trip to Nebraska to see my FIL. He's been diagnosed with an Aortic Aneurysm. Since he's 78 and pretty hard of hearing, we thought someone needed to go to his Dr. appts with him. Since Todd's brother and his wife both work full time, and Todd's our only breadwinner, I thought I better be the one to go. I was there a week so decided to make myself a flannel pillowcase to take along!
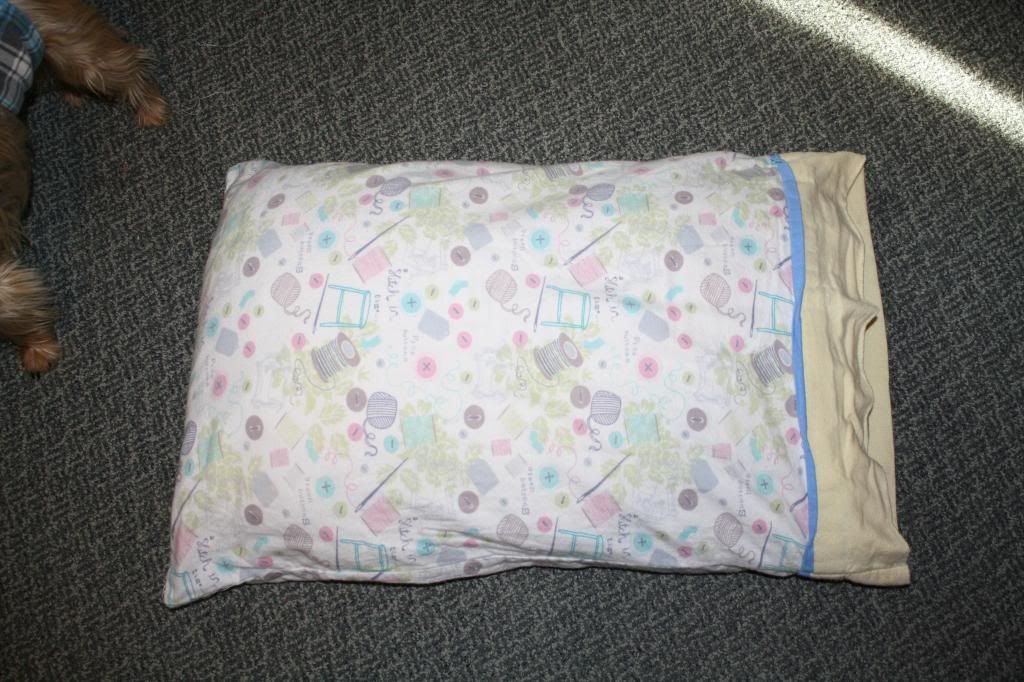
I had bought the fabric at JoAnn's a while ago and didn't know exactly what I'd make with it. (I do that a lot - expecially with sewing themed fabric.)
While emptying Todd's truck one weekend when he was home, I noticed that his blue jean comforter is looking a little ragged, so I made him a new one. Used lots of old jeans, then also added a few squares of clothes that were his mom's and grandmother's that were left over from the Memory Quilts I made back in 2010 after they passed away.
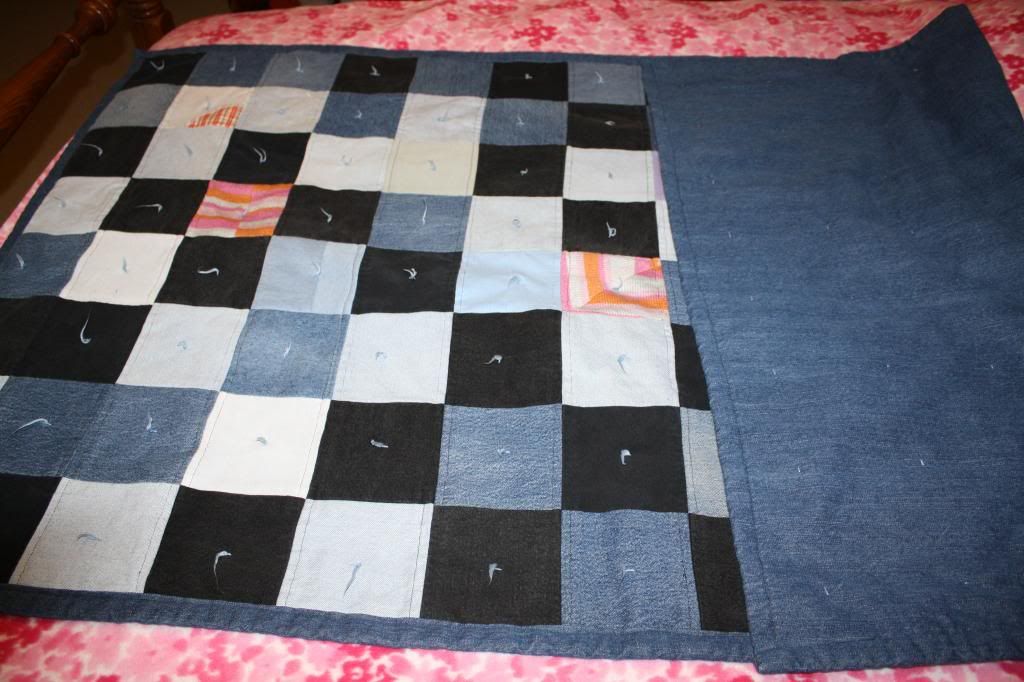
This one is REALLY heavy!!! But that's good, since he goes through lots of snow in the winter.
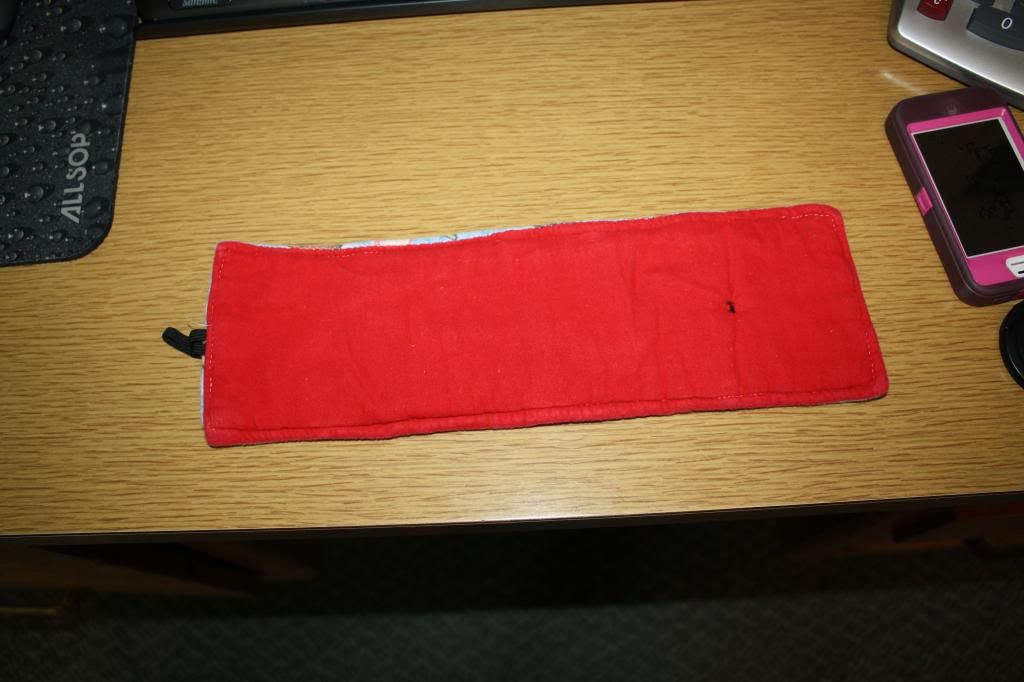
And finally, I made some more belly bands for Brute. The first ones I made I used velcro to close them, but he figured out that he can go underneath the couch and get them off. So I had to figure out how to make some that he can't do that anymore. I made them long and used elastic and buttons to close them. I had some plastic that was sandwiched between flannel (so they don't soak through), so layered that and old towels or terry cloth. I figured out that it was much easier to make the inside layers, sew them with my serger, then make the covers a little larger and slip the inside layers inside. I topstiched all the way around to keep the inside layers from turning. I also used a different flannel for the side that goes to his body so it's easy to identify.
These are the first ones:
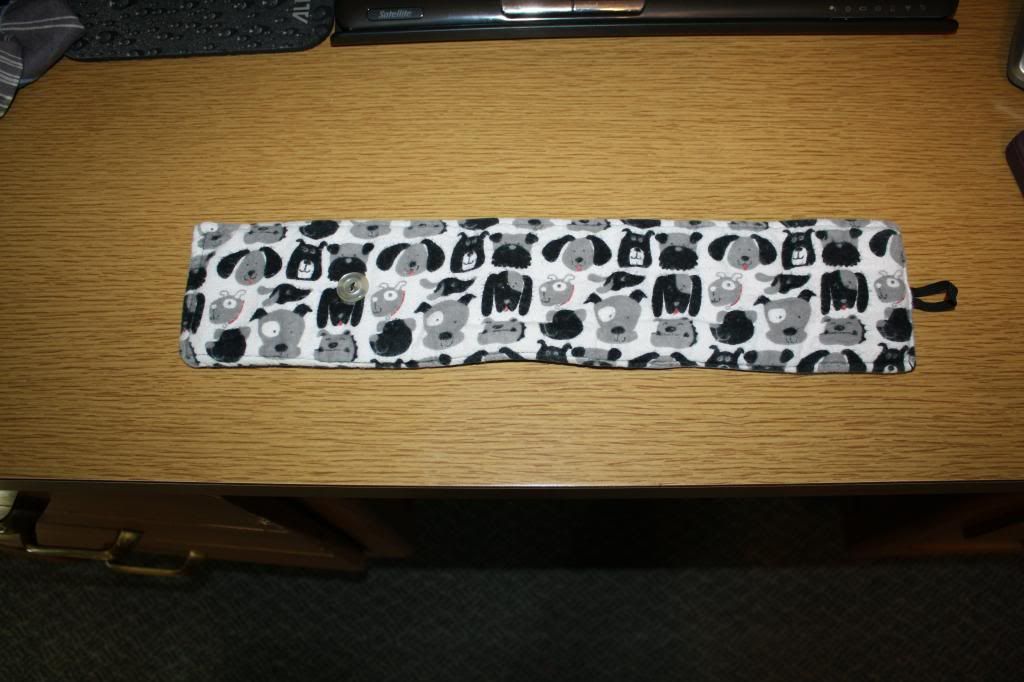
Then I did a few that are a little longer. (But these need the buttons adjusted - they are too loose and he gets out of them, too.)
Outside:
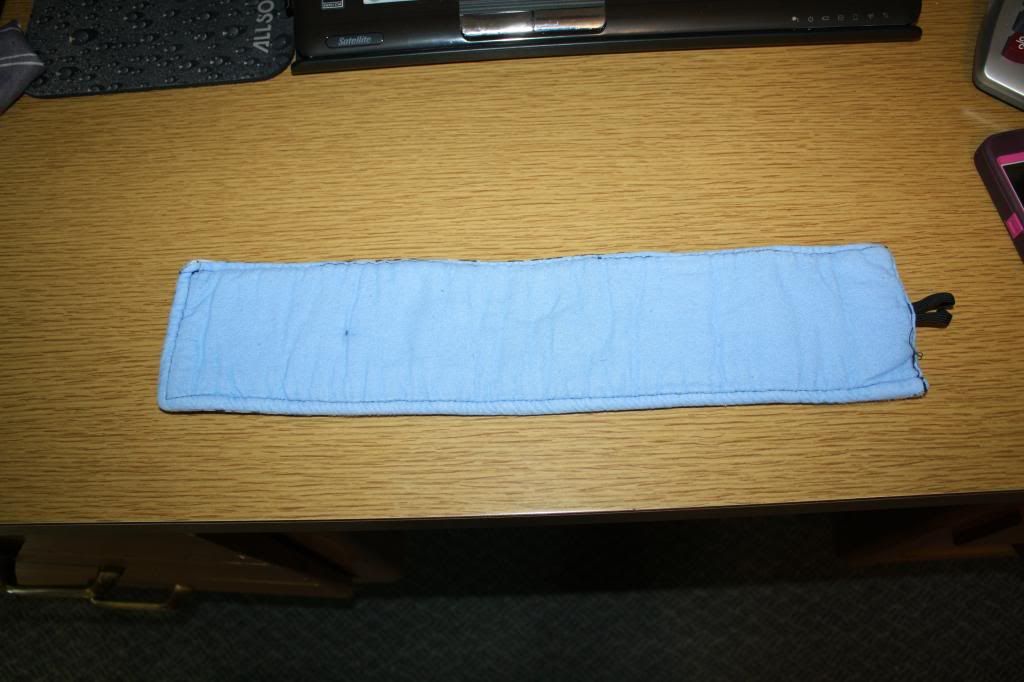
Inside:
I now have enough that I do a load in the washer when almost all of them are dirty. He'll be celebrating his 12th birthday in August, so he's getting old. :(
One last project isn't a sewing project, but an addition to my desk in the office. It's an "Ikea hack". I saw some of them on Pinterest and decided that was what I needed. I purchsed a plain "Billy" bookcase, but had Todd cut it into three different pieces. We put each piece together, then put the largest piece on it's side an attached it to the two smaller pieces and ended up with LOTS more storage!!!! I'm hoping I have time sometime this summer to paint both the desk and the bookcase so that they match.
(I know, what a mess on my desk. You'd think I'd now have room for everything so I could clean off the top, but I'm waiting for another phone call from my FIL and I'll have to leave to go to Nebraska again.)
Anyway, sorry it took me so long to get another post done. I do have a few more projects that I've made but haven't taken pictures yet. So keep checking back!!!!!
We had an absolute WONDERFUL time on out trip to Hawaii. It was so nice to see Megan and her family and our beach cottage at Turtle Bay Resort was HEAVEN. I really don't think I've ever been anywhere so beautiful. I'll do a post with pictures on that on my other blog one of these days.
In the mean time, I have been sewing some things. I'll work backwards - today I made a pencil case for Alyssa (our oldest granddaughter who turned 10 in February). She needed one to put in her binder, so I looked on Pinterest and found this tutorial. (You have to log in to get it, but it's a good tute.) As usual, I didn't make mine exactly like the tute, but the only thing I changed was how I did the zipper. Mine is how I make cosmetic bags and I think looks a little better. Since I don't have a really fancy sewing machine (yet) that does cool names, I just used the Bernina that was my MIL's.


It turned out pretty good. I think she'll like it. The only thing I should have done differently is make the buttonholes on the bottom a little bigger. But I can always make them bigger if she wants me to.
I had to make a quick trip to Nebraska to see my FIL. He's been diagnosed with an Aortic Aneurysm. Since he's 78 and pretty hard of hearing, we thought someone needed to go to his Dr. appts with him. Since Todd's brother and his wife both work full time, and Todd's our only breadwinner, I thought I better be the one to go. I was there a week so decided to make myself a flannel pillowcase to take along!

I had bought the fabric at JoAnn's a while ago and didn't know exactly what I'd make with it. (I do that a lot - expecially with sewing themed fabric.)
While emptying Todd's truck one weekend when he was home, I noticed that his blue jean comforter is looking a little ragged, so I made him a new one. Used lots of old jeans, then also added a few squares of clothes that were his mom's and grandmother's that were left over from the Memory Quilts I made back in 2010 after they passed away.

This one is REALLY heavy!!! But that's good, since he goes through lots of snow in the winter.
And finally, I made some more belly bands for Brute. The first ones I made I used velcro to close them, but he figured out that he can go underneath the couch and get them off. So I had to figure out how to make some that he can't do that anymore. I made them long and used elastic and buttons to close them. I had some plastic that was sandwiched between flannel (so they don't soak through), so layered that and old towels or terry cloth. I figured out that it was much easier to make the inside layers, sew them with my serger, then make the covers a little larger and slip the inside layers inside. I topstiched all the way around to keep the inside layers from turning. I also used a different flannel for the side that goes to his body so it's easy to identify.
These are the first ones:


Then I did a few that are a little longer. (But these need the buttons adjusted - they are too loose and he gets out of them, too.)
Outside:

Inside:

I now have enough that I do a load in the washer when almost all of them are dirty. He'll be celebrating his 12th birthday in August, so he's getting old. :(
One last project isn't a sewing project, but an addition to my desk in the office. It's an "Ikea hack". I saw some of them on Pinterest and decided that was what I needed. I purchsed a plain "Billy" bookcase, but had Todd cut it into three different pieces. We put each piece together, then put the largest piece on it's side an attached it to the two smaller pieces and ended up with LOTS more storage!!!! I'm hoping I have time sometime this summer to paint both the desk and the bookcase so that they match.
(I know, what a mess on my desk. You'd think I'd now have room for everything so I could clean off the top, but I'm waiting for another phone call from my FIL and I'll have to leave to go to Nebraska again.)
Anyway, sorry it took me so long to get another post done. I do have a few more projects that I've made but haven't taken pictures yet. So keep checking back!!!!!
Sunday, December 2, 2012
I thought I was done with things for the trip....
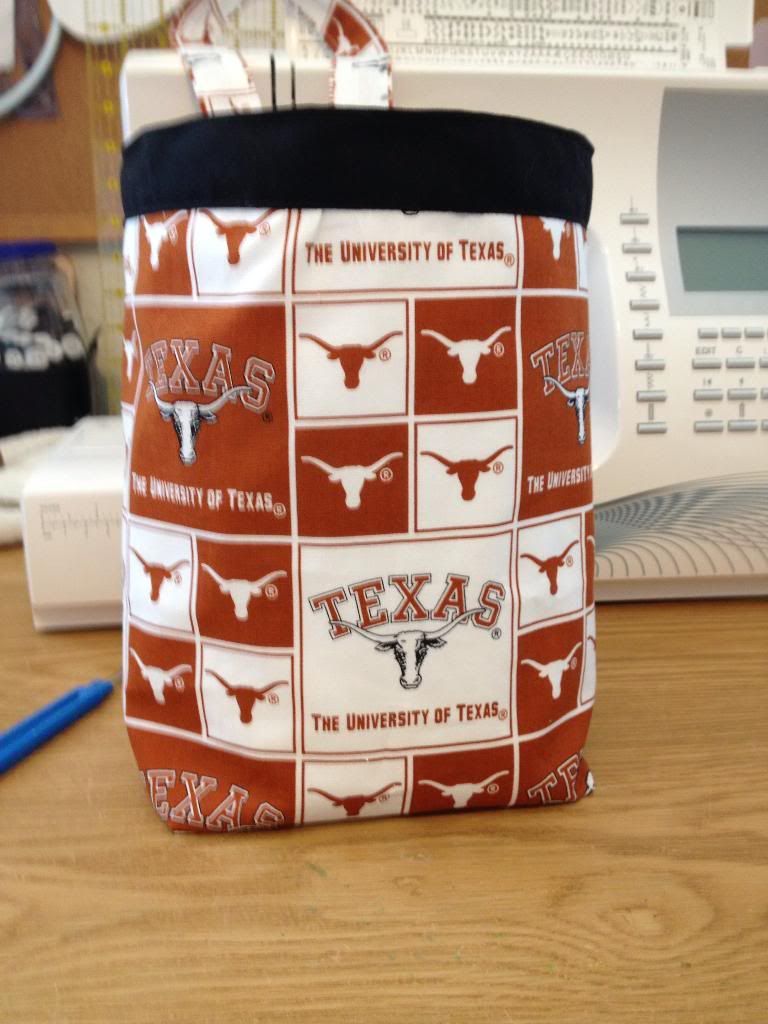
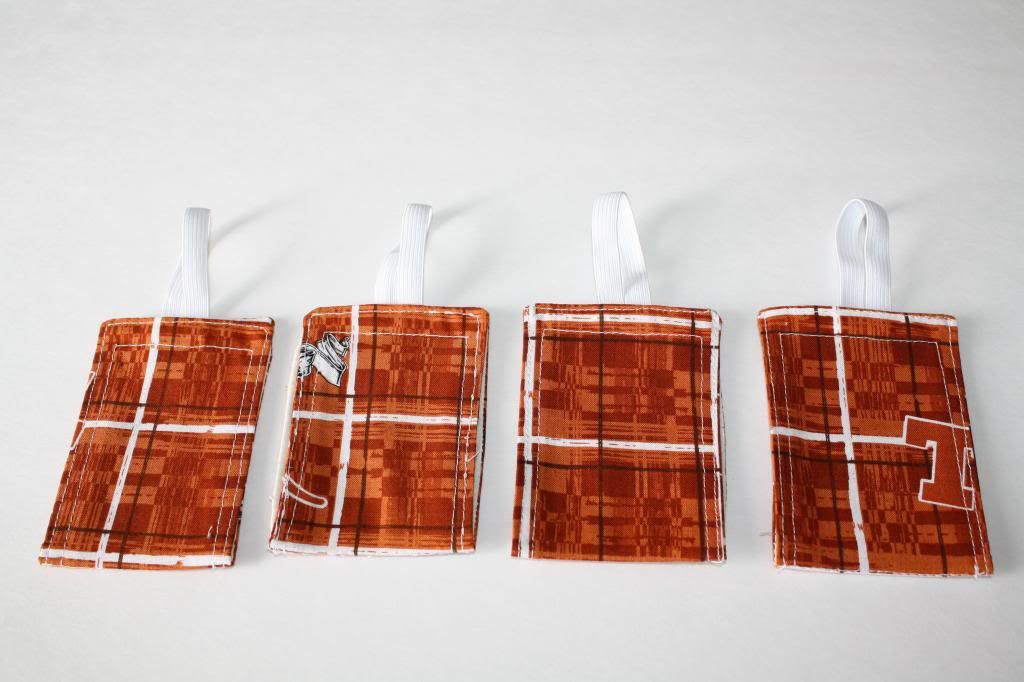
but found another project! I decided I needed to use the rest of the "Texas Longhorn" fabric and make some luggage tags. Browsing around Pinterest, I found a few tutorials on making them, but eventually ended up using a few hints from different ones and came up with my own design.
One thing I did use was how to print on fabric. I had heard many people do this, but never did myself. I just always bought the special paper at craft stores, but this is MUCH CHEAPER!! Which, if you know me at all, you know is something I LOVE. Anyway, you just use freezer paper and iron the shiny side to the fabric. I did that before I cut the fabric to the size of a regular piece of paper, 8 1/2 by 11.
Anyway, I printed them off and went on my way. The first one I made didn't turn out too great, so I kept going and ended up with this:
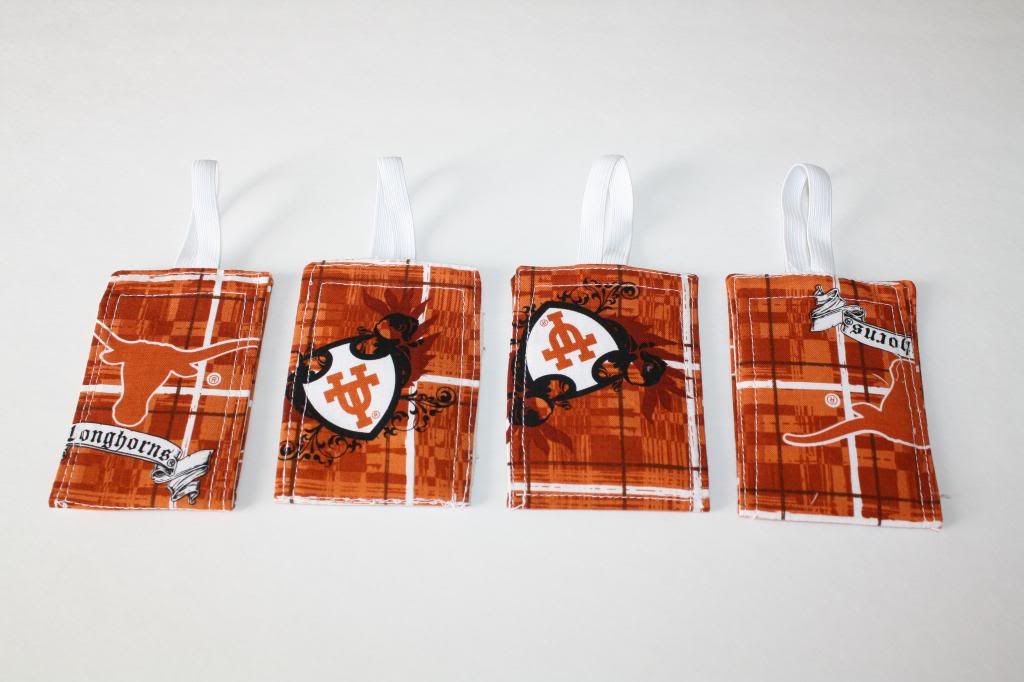
One for each of our new piece of luggage. Our two checked bags and two carry-ons.
Other side:
I made them so they just fold in half, and a small piece of velcro keeps it closed. Here's the inside:
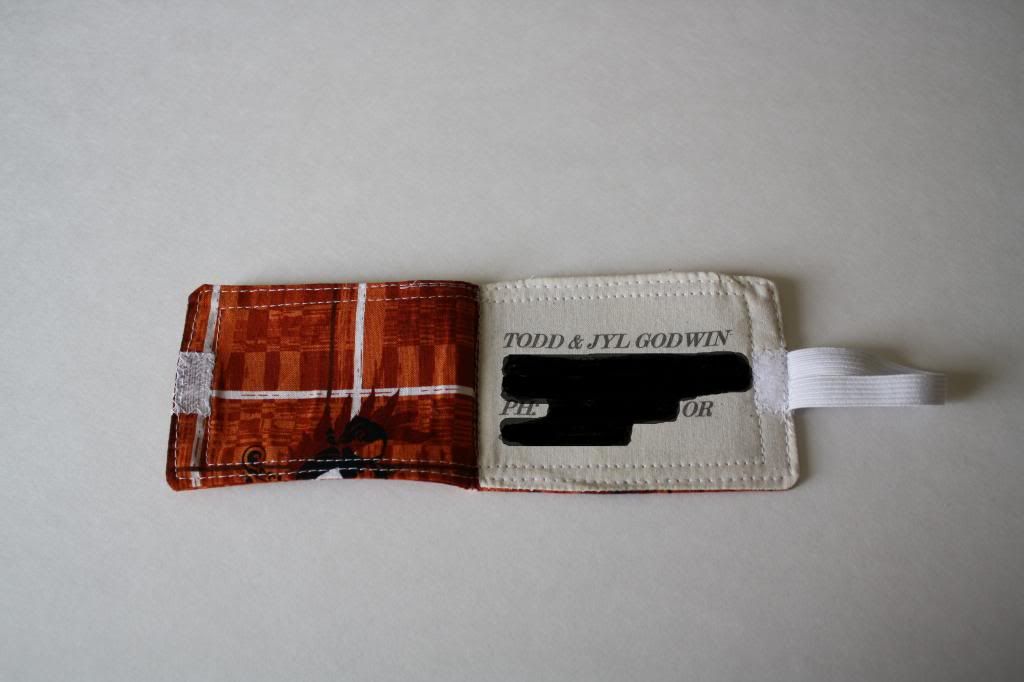
I did put a piece of interfacing underneath the address for a little stiffness and just used elastic I had on hand to attach them to the handles. I already have a small piece of this fabric tied onto all the handles, so these will be additional. It will make our luggage much easier to find at the airport!
One thing I did use was how to print on fabric. I had heard many people do this, but never did myself. I just always bought the special paper at craft stores, but this is MUCH CHEAPER!! Which, if you know me at all, you know is something I LOVE. Anyway, you just use freezer paper and iron the shiny side to the fabric. I did that before I cut the fabric to the size of a regular piece of paper, 8 1/2 by 11.
Anyway, I printed them off and went on my way. The first one I made didn't turn out too great, so I kept going and ended up with this:

One for each of our new piece of luggage. Our two checked bags and two carry-ons.
Other side:

I made them so they just fold in half, and a small piece of velcro keeps it closed. Here's the inside:

I did put a piece of interfacing underneath the address for a little stiffness and just used elastic I had on hand to attach them to the handles. I already have a small piece of this fabric tied onto all the handles, so these will be additional. It will make our luggage much easier to find at the airport!
Thursday, November 8, 2012
A Couple More Projects Done for Hawaii Trip
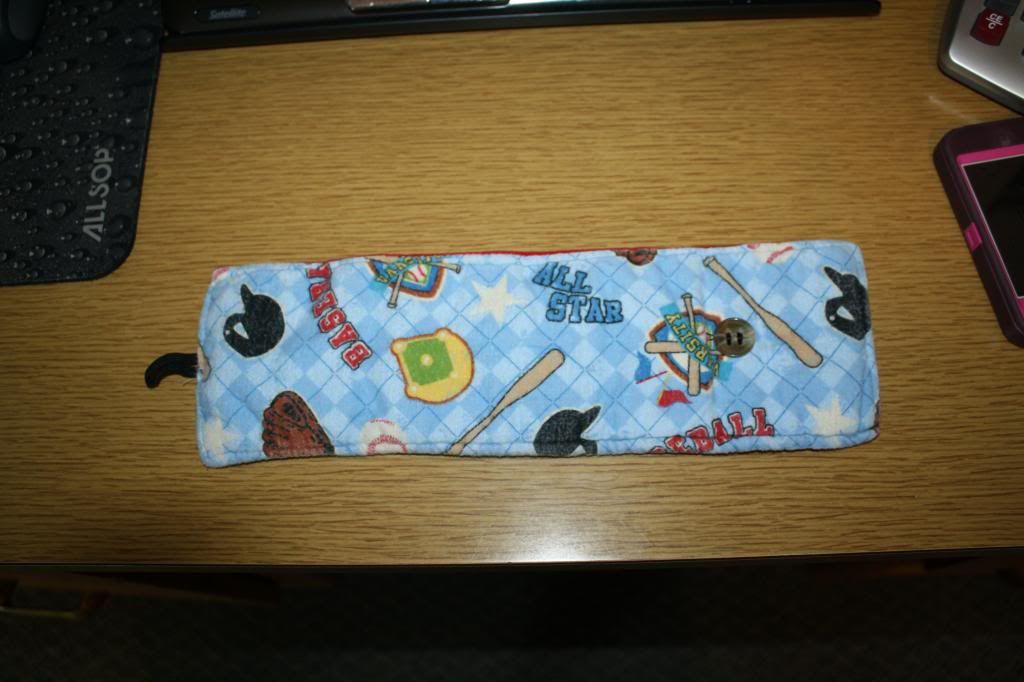
I'm slowly getting things done that have been on my "To-Do for Hawaii" List. One of the things I decided to do was a cover for my Canon Rebel Strap. I had made one out of flannel before, but I really wasn't too happy with it. I had bought some orange "UT" fabric a little while ago to use to mark our luggage for the trip and had some left over, so decided to use it for the new strap.
Here's the new strap cover:
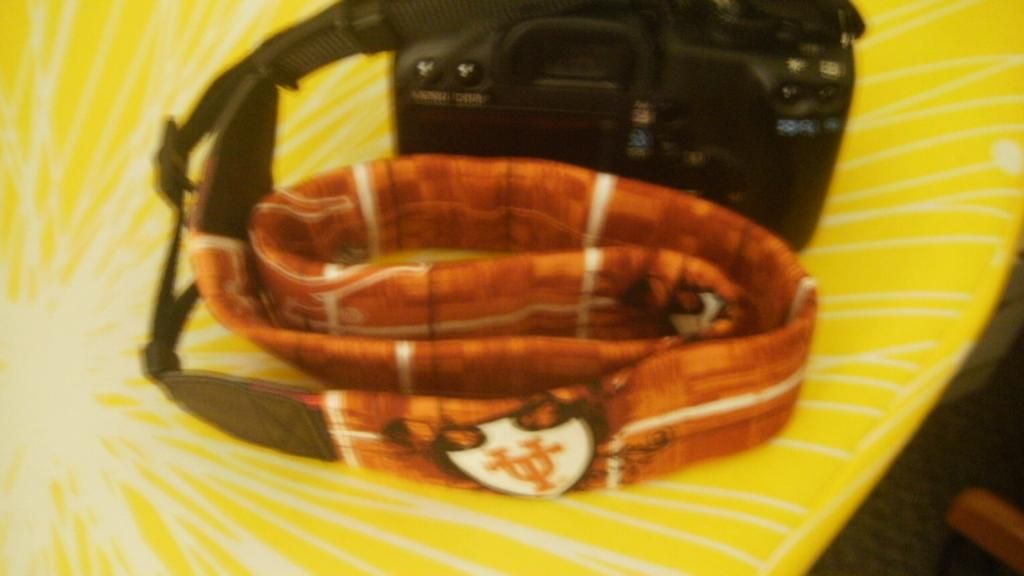
In case you're interested, here is the tutorial I used. I like that it's nice and tight on the strap.
I had to use my other camera to take the picture, so it's not very good.
I also wanted to make some pouches to keep all my cords in. Decided to dig out the Bernina sewing machine (that used to be my mother-in-law's) to label them. Again, the pictures aren't that great.
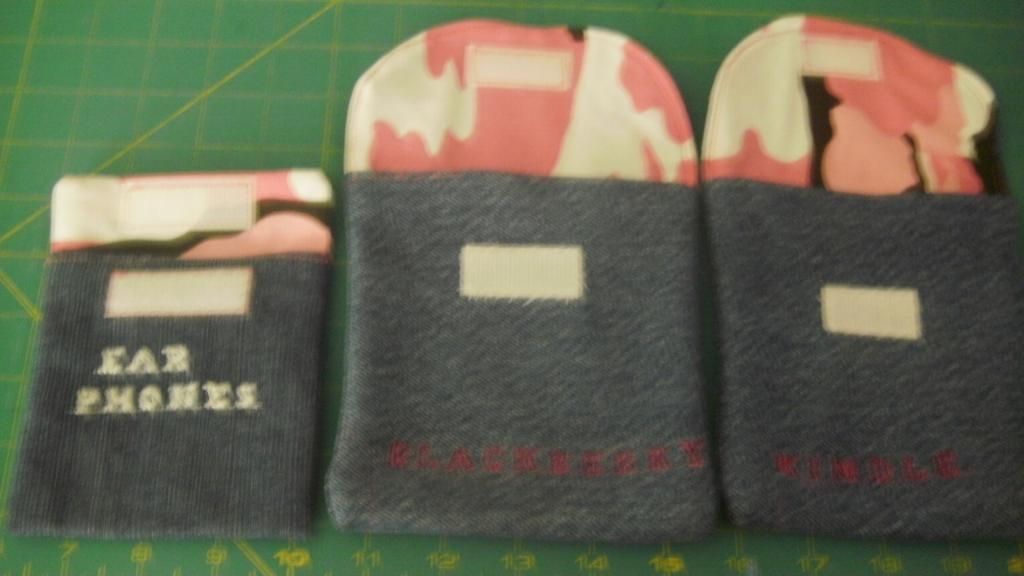
A closer look at how they are labeled. I had some old fabric paint brushes from years ago so used them to color in the letters. The "ear phones" one I tried to used some dimensional fabric paint but that didn't work very well. lol
In case you are wondering, here is the link for the tutorial for these.
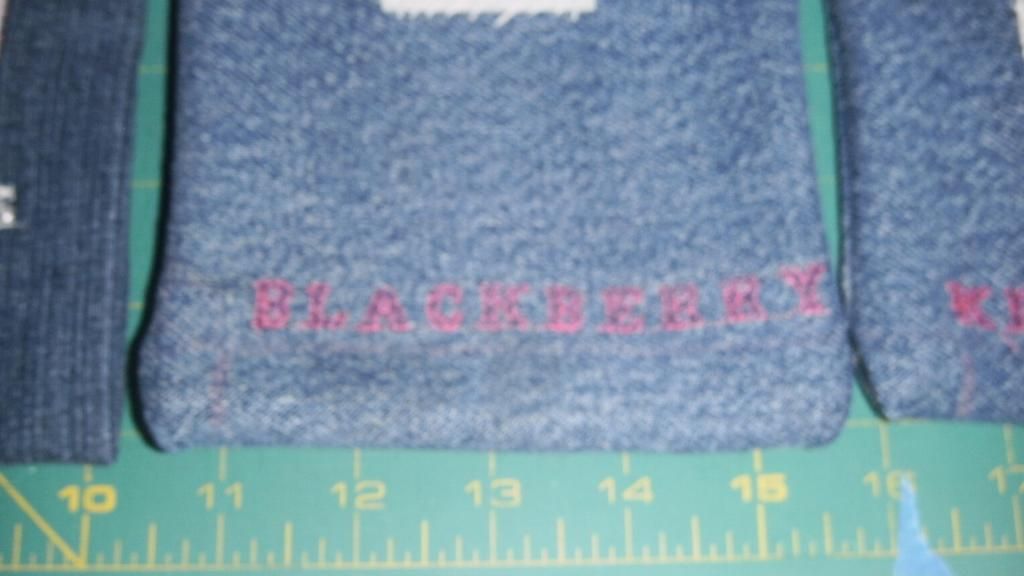
Finally, I had been looking for something small to use for a travel journal. I know I'll take one of our laptops so I can upload photos, but it's nice to put pen to paper every once in a while. I had one for our cruise in 2010, so decided I wanted one for this trip, too. Anyway, this is what I found at TJ Maxx for about $4 the other day:
They are small and don't take up too much room, but they're not very pretty.
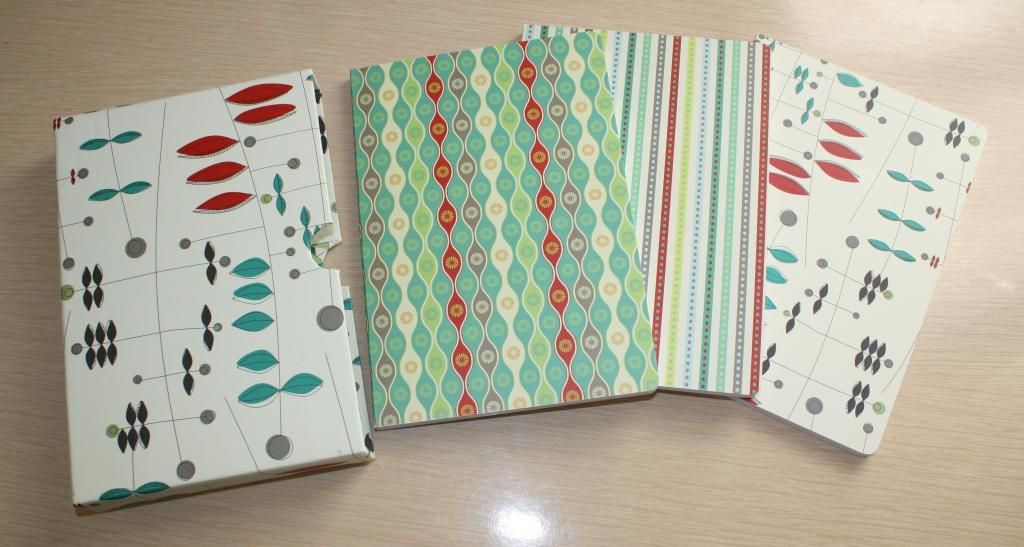
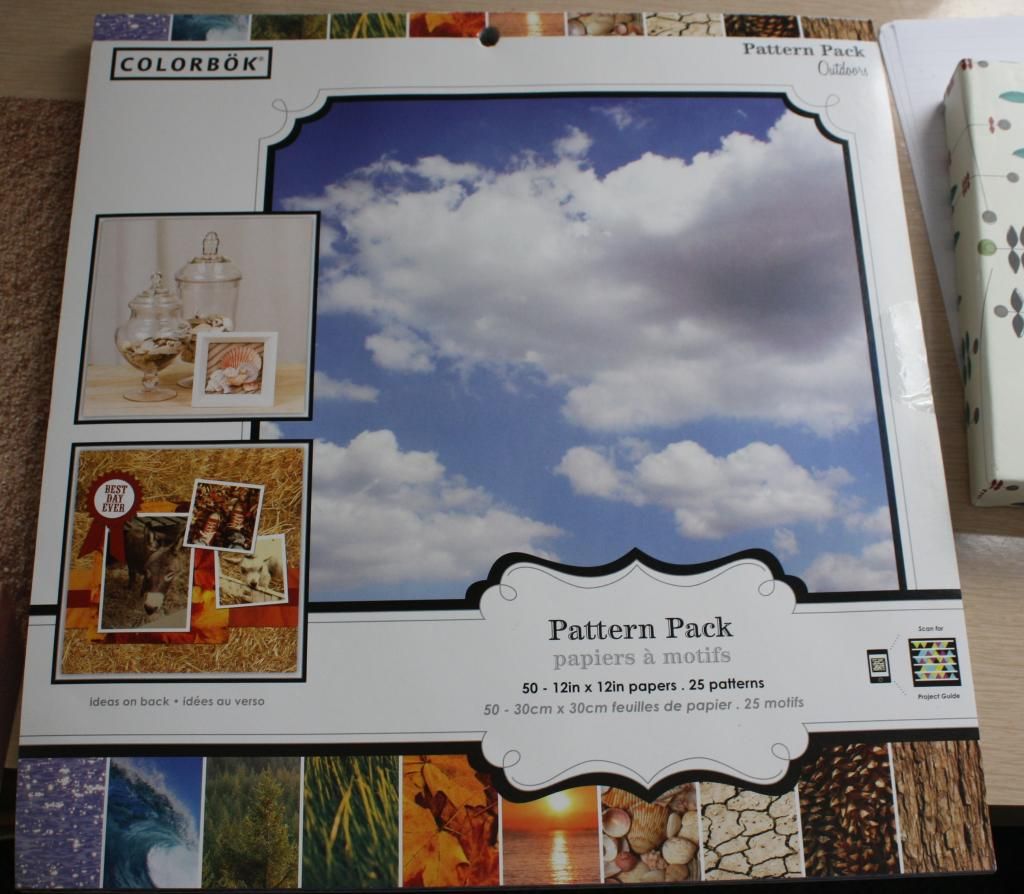
So, I decided to try to put new covers on them. I had bought some scrap paper a while ago for another project, so decided to use that to recover them.
These are the pages I decided to use:
Cover:

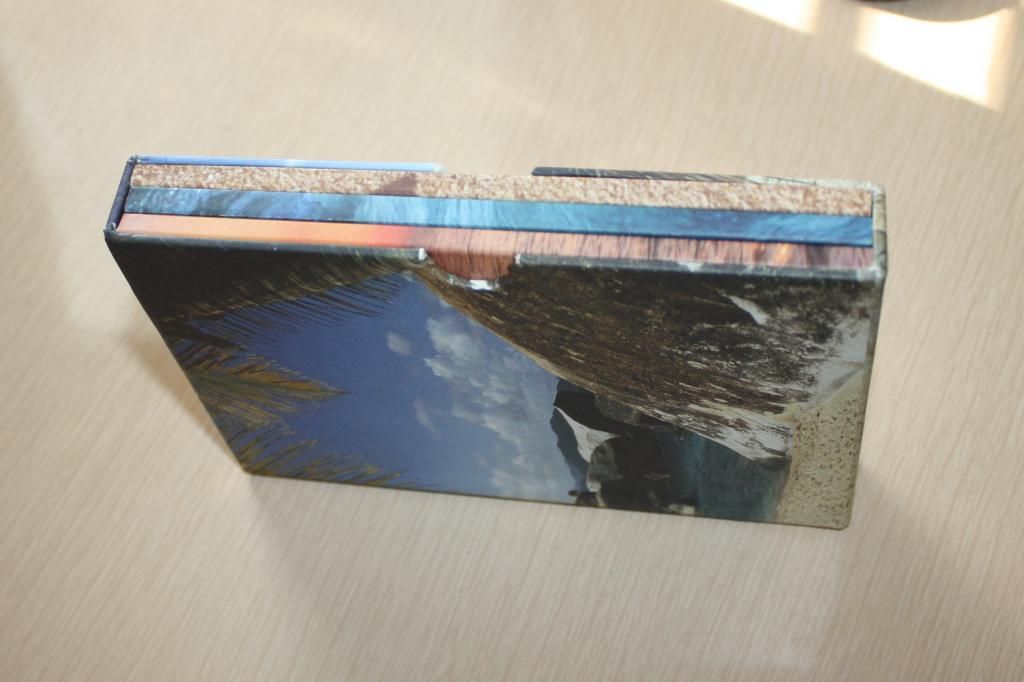
And the books:
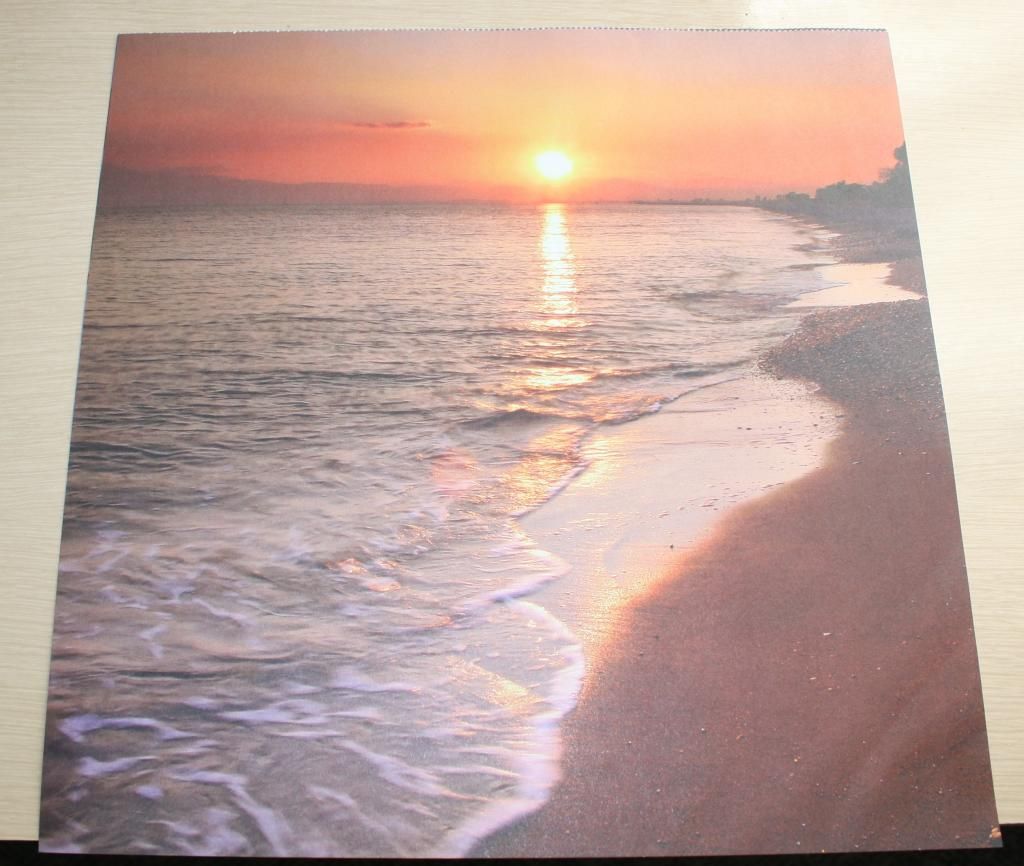

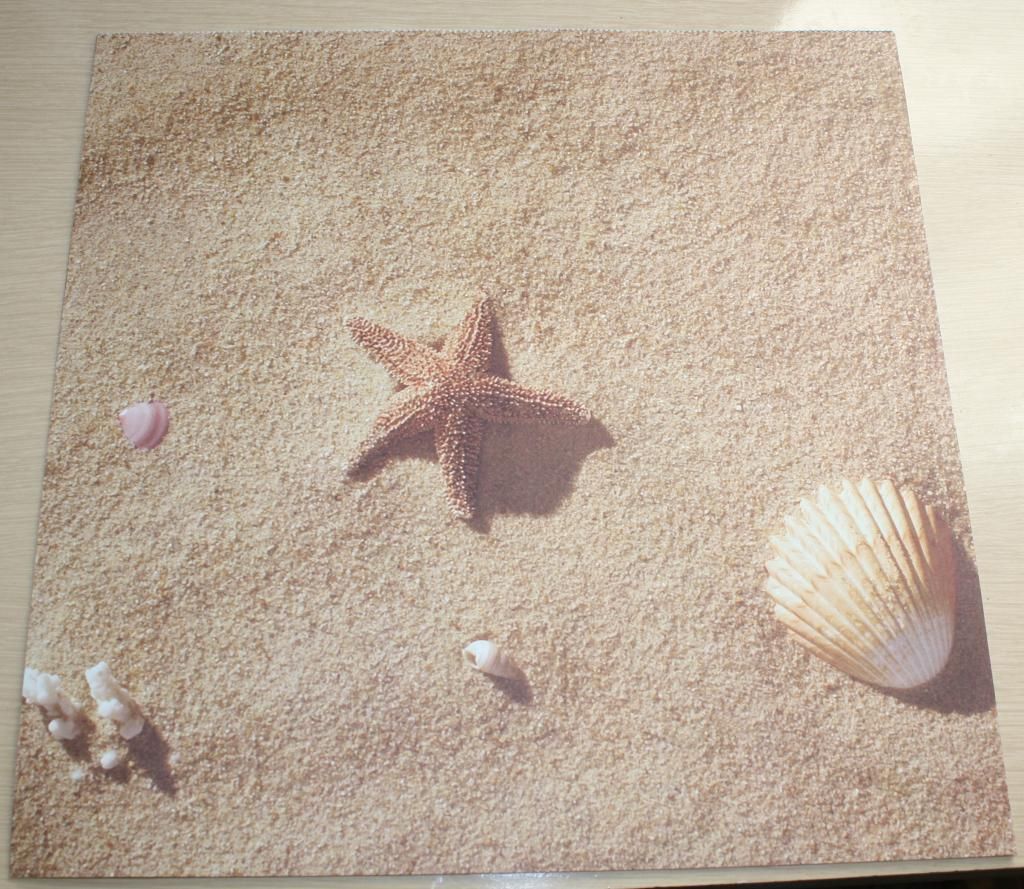
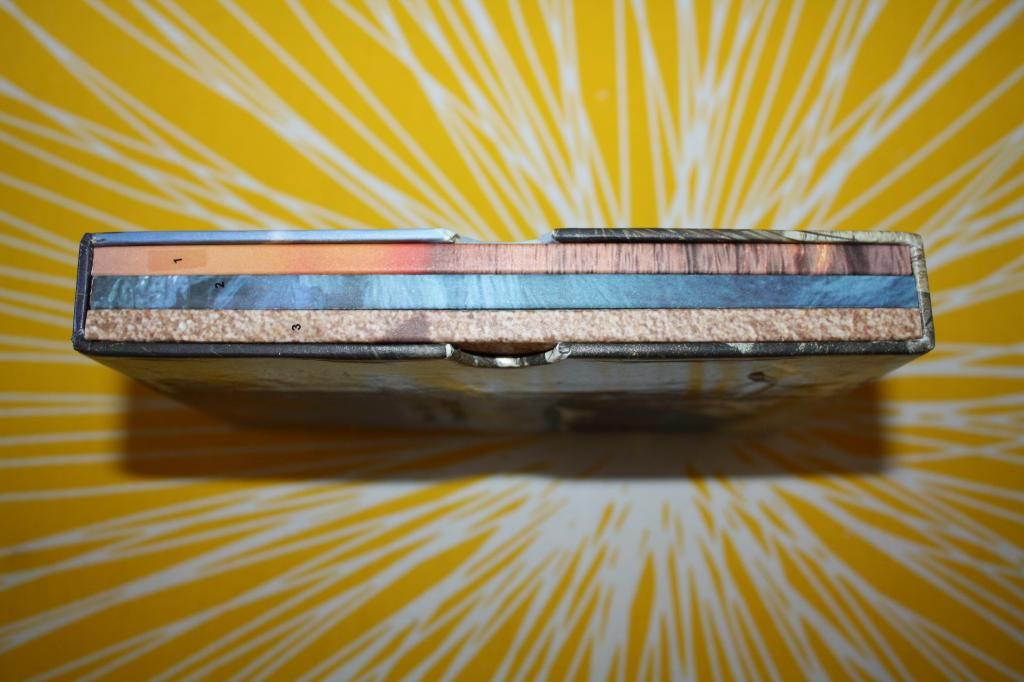
All I did was cut the sheets to the correct size, decided what I wanted on the cover and books, then used a glue stick to glue the sheets on. It worked petty good, even though I had to take about 6 pages out of each book so they wouldn't be too tight in the cover.
This is after they were covered:
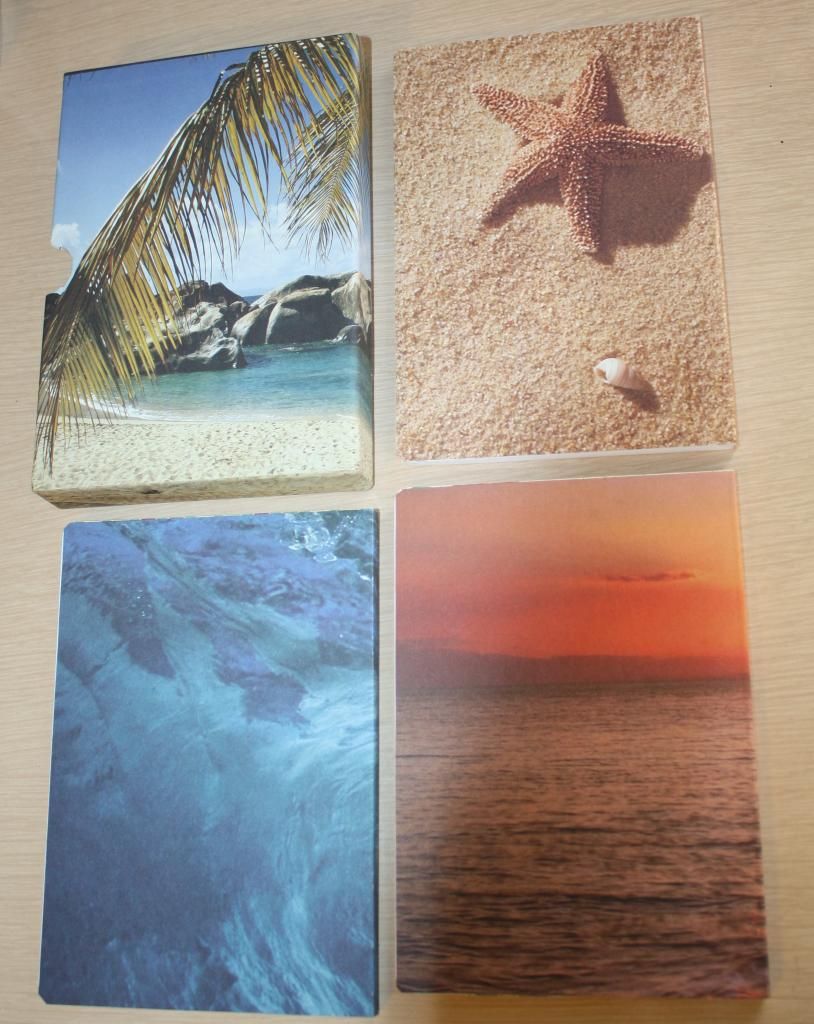
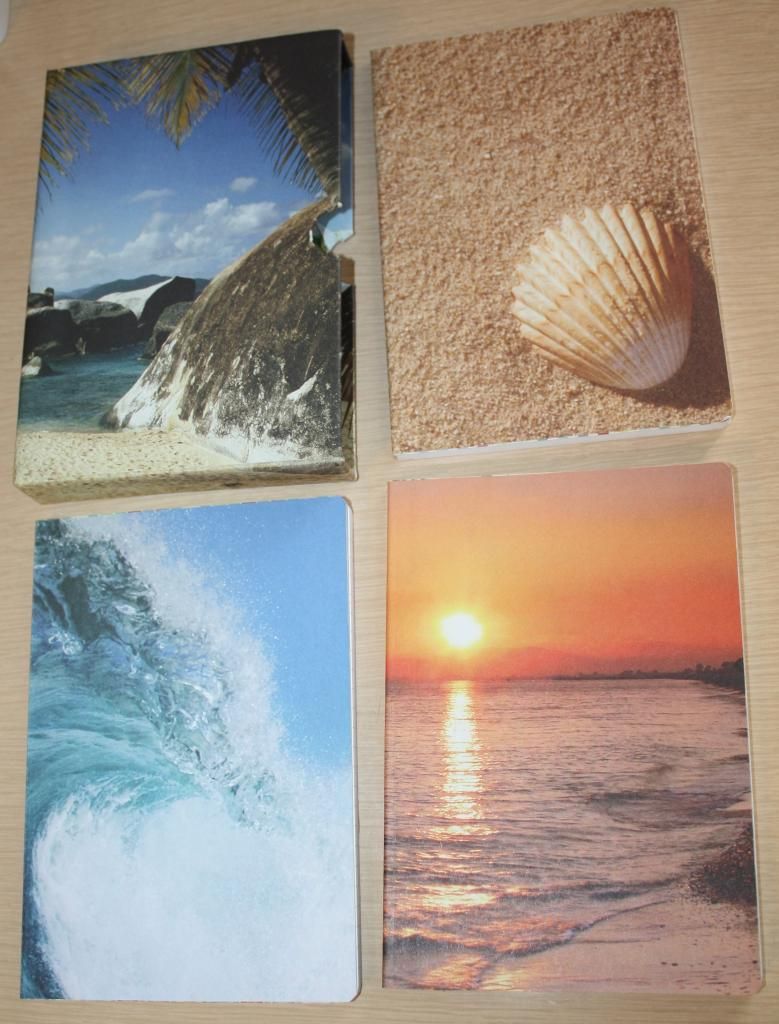
Then I decided to make some labels (printed on clear labels), then coated with modge podge (homemade, recipe here). I was pretty happy with them, but while organizing the office (for the millionth time), I found some spray laquer that said it was good for decoupage, so decided to spray that on, too. Here is the finished project:
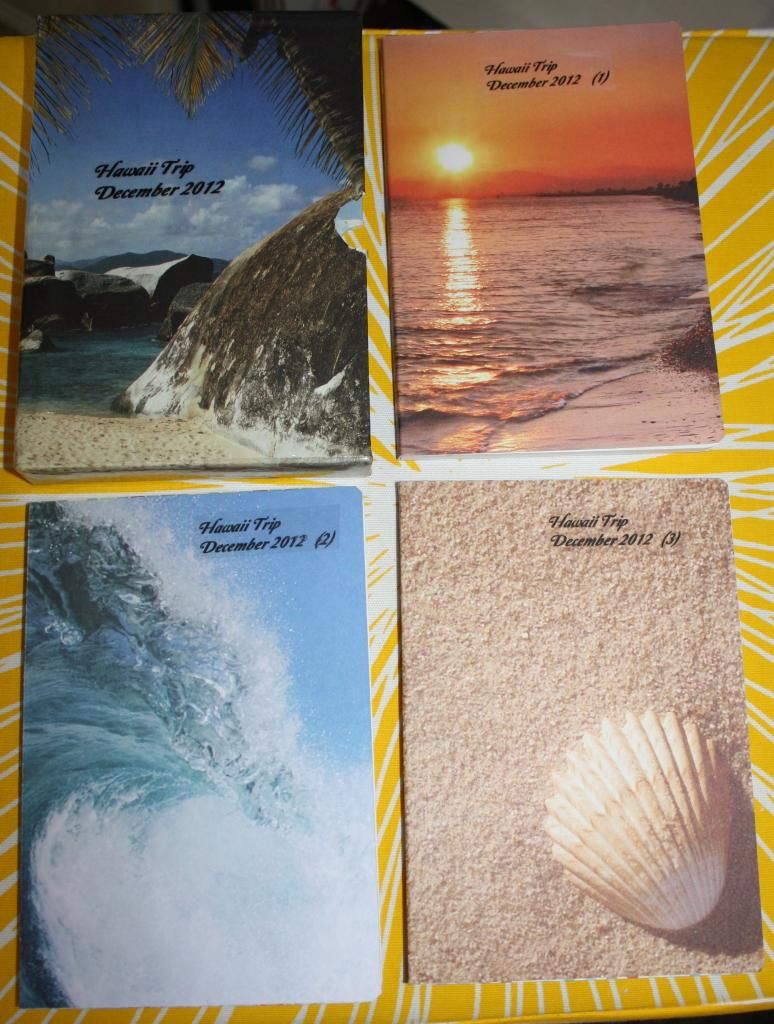
Quite an improvement!!!!!
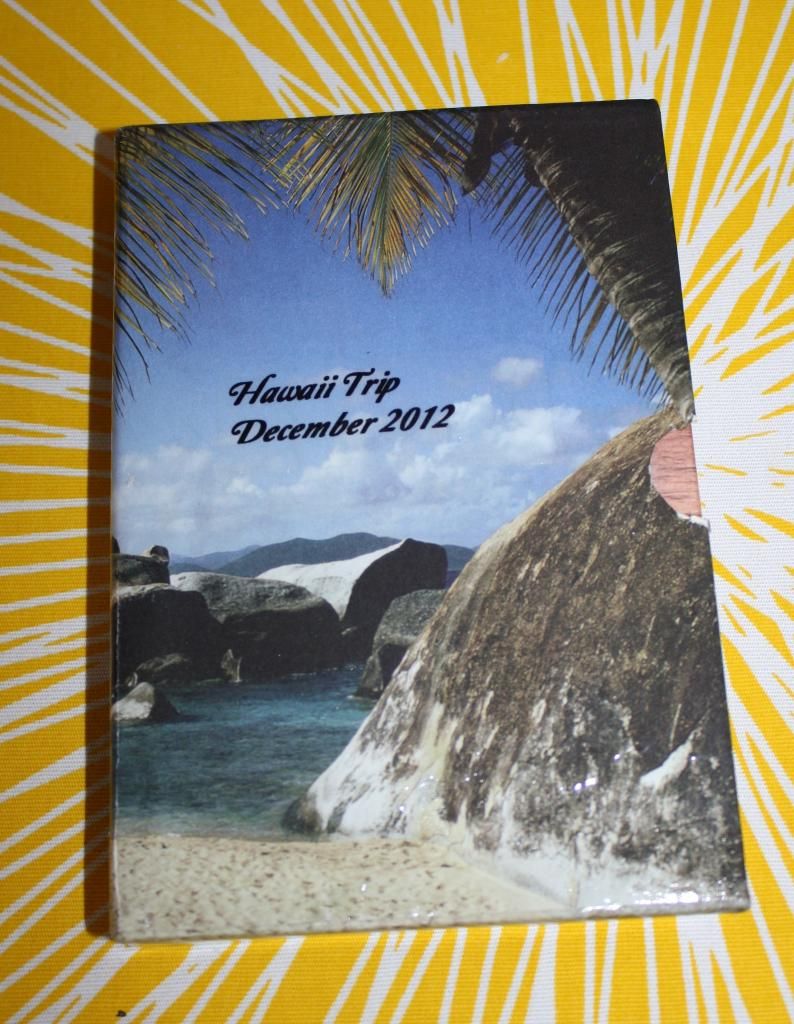
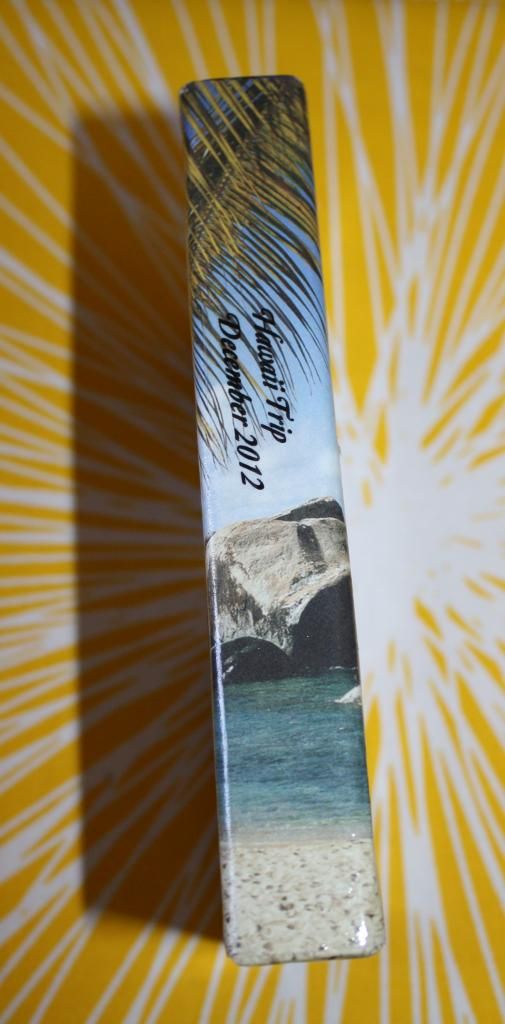
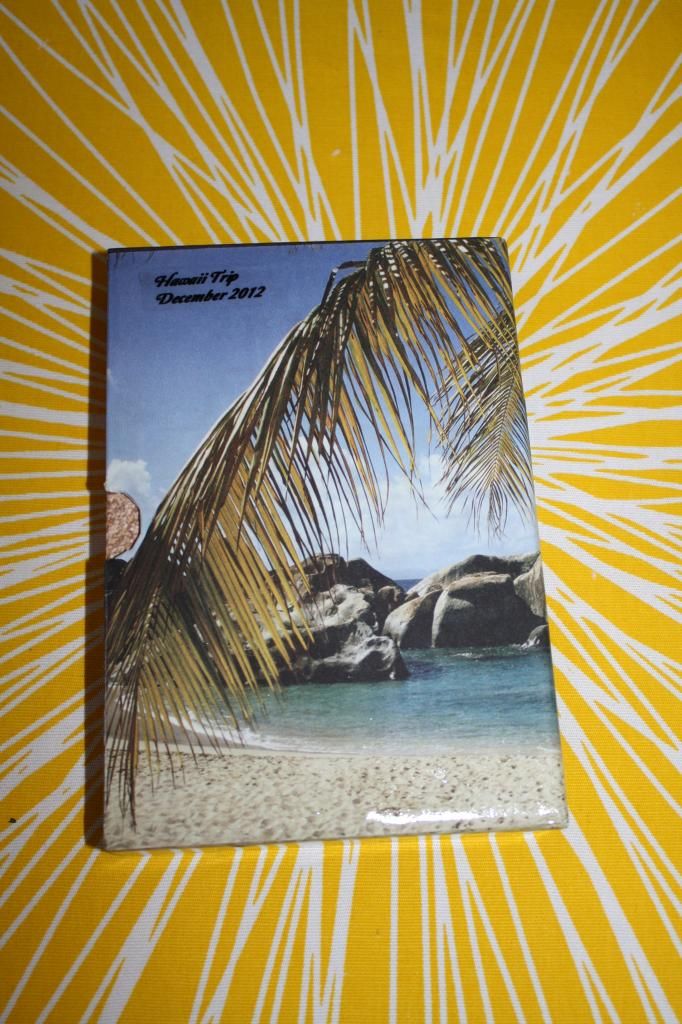
They're not perfect, but I'm really happy with how they turned out!
I still have some shopping to do before our trip, but need to go through my current wardrobe first to decide what else I need. Counting down the days!!!!!! Todd and I are both really looking forward to the trip!
Here's the new strap cover:
In case you're interested, here is the tutorial I used. I like that it's nice and tight on the strap.
I had to use my other camera to take the picture, so it's not very good.
I also wanted to make some pouches to keep all my cords in. Decided to dig out the Bernina sewing machine (that used to be my mother-in-law's) to label them. Again, the pictures aren't that great.
A closer look at how they are labeled. I had some old fabric paint brushes from years ago so used them to color in the letters. The "ear phones" one I tried to used some dimensional fabric paint but that didn't work very well. lol
In case you are wondering, here is the link for the tutorial for these.
Finally, I had been looking for something small to use for a travel journal. I know I'll take one of our laptops so I can upload photos, but it's nice to put pen to paper every once in a while. I had one for our cruise in 2010, so decided I wanted one for this trip, too. Anyway, this is what I found at TJ Maxx for about $4 the other day:
They are small and don't take up too much room, but they're not very pretty.
So, I decided to try to put new covers on them. I had bought some scrap paper a while ago for another project, so decided to use that to recover them.
These are the pages I decided to use:
Cover:
And the books:
All I did was cut the sheets to the correct size, decided what I wanted on the cover and books, then used a glue stick to glue the sheets on. It worked petty good, even though I had to take about 6 pages out of each book so they wouldn't be too tight in the cover.
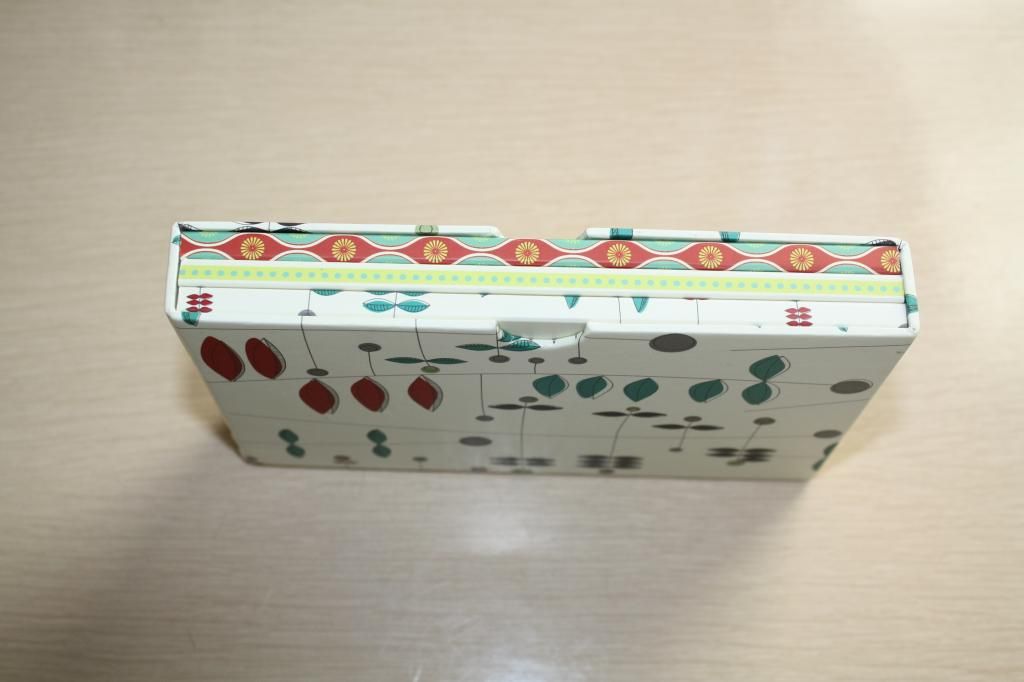
This is after they were covered:
Then I decided to make some labels (printed on clear labels), then coated with modge podge (homemade, recipe here). I was pretty happy with them, but while organizing the office (for the millionth time), I found some spray laquer that said it was good for decoupage, so decided to spray that on, too. Here is the finished project:
Quite an improvement!!!!!
They're not perfect, but I'm really happy with how they turned out!
I still have some shopping to do before our trip, but need to go through my current wardrobe first to decide what else I need. Counting down the days!!!!!! Todd and I are both really looking forward to the trip!
Subscribe to:
Posts (Atom)